Start from the bottom up! That old saying “a house is only as good as the foundations” might not seem appropriate to skiing; but have you given your sock choice much thought recently?
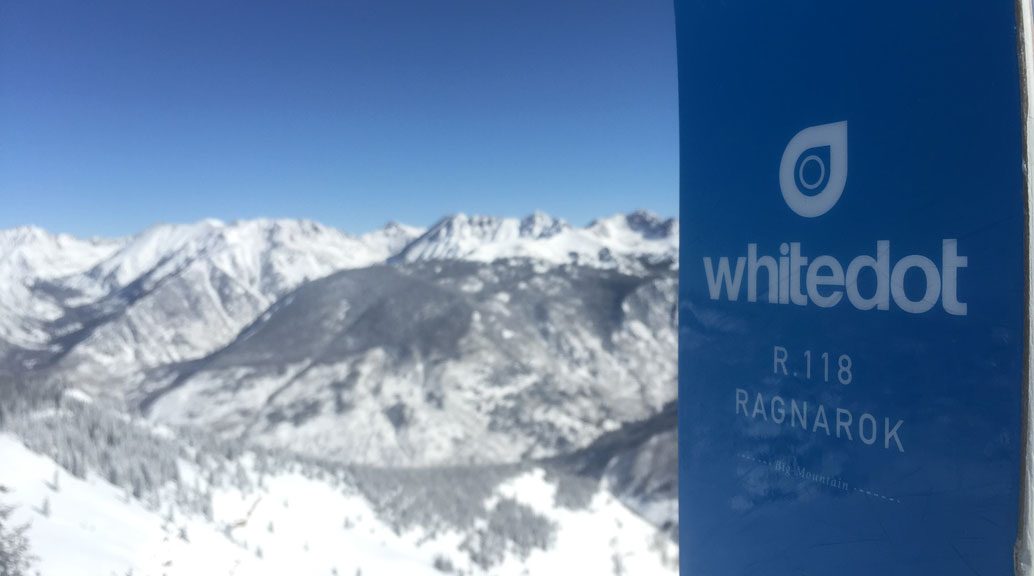
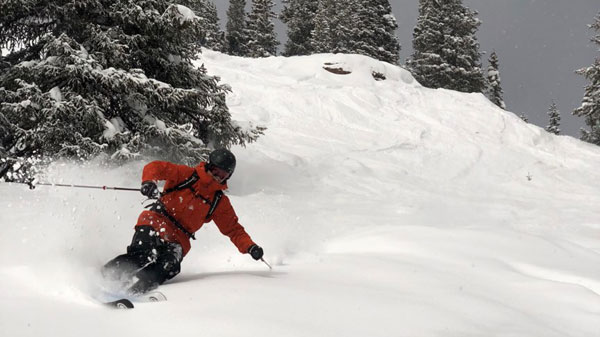
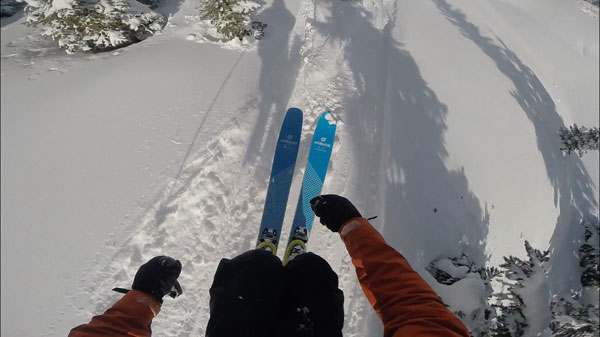
Here in Colorado many of the mountain resorts have stopped the gondola wheels spinning, because Spring has sprung. For some of us the need for gondolas and chair lifts has long been gone, the deep powder days have come to an end, and the desire for ski touring has been getting stronger by the day. With clear skies, and an ever settling snow pack, the long days in the skin tracks are become a daily ritual – 4am trail head starts by head lamp and t-shirt hikes out; are how we spend the days.
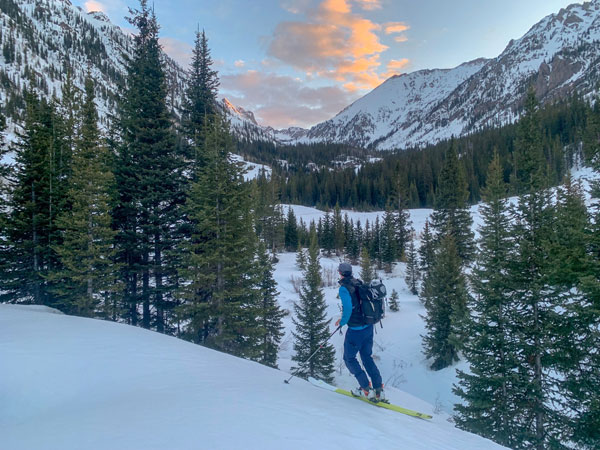
With clear skies, and an ever settling snow pack, the long days in the skin tracks are become a daily ritual. Photograph Joe
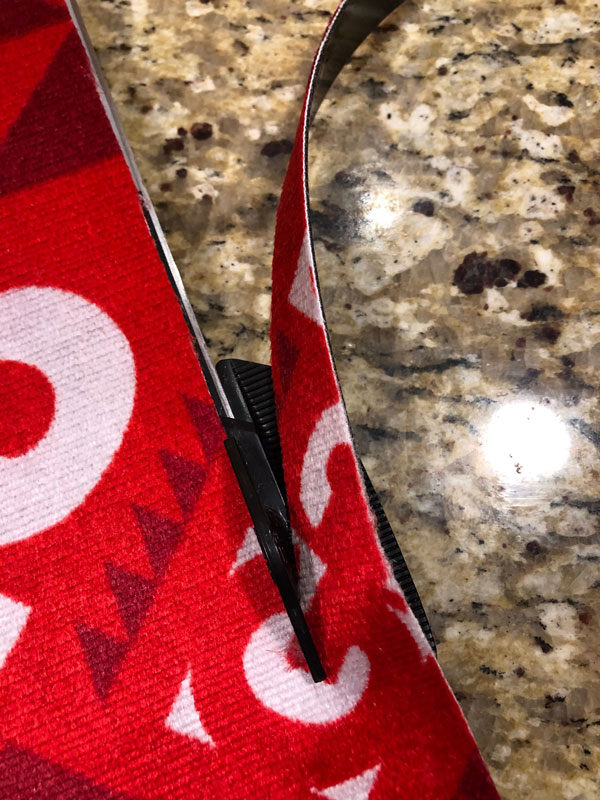
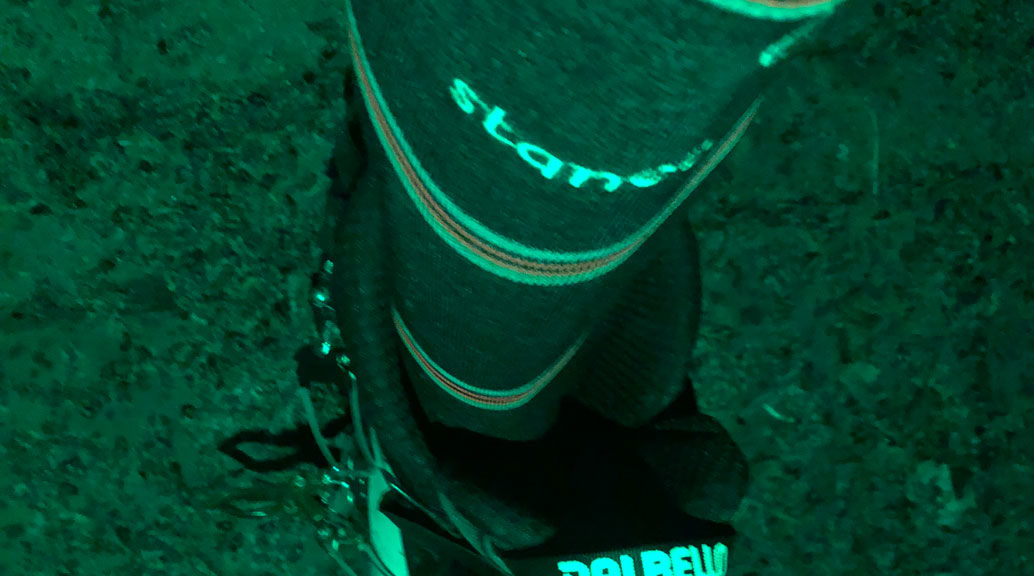
With the Spring sun the days might start cold, but they soon warm up. And as for all the great things ski boots bring to the slopes, breathability certainly isn’t one of them. Consequently I was pretty excited to try out Stance’s new super light weight, super breathable Backountry Ultra-Light Sock, and see what they could do for my feet. Out of the pack these socks feel light and thin, very thin, and initially I thought Stance might have gone to far – and it would feel like I was putting my bare foot into my ski boot. That being said, and “you don’t know until you try”, I pulled them on and took them for a test on my pre-work skin up Vail Mountain. Straight away any concerns disappeared; because my feet felt great, and comfortable, in my Dalbello Lupo boots. My feet stayed warm, the arch support hugged my foot, and the gradual compression kept my legs feeling fresh – although I hope that was partly down to my fitness, not just the socks!
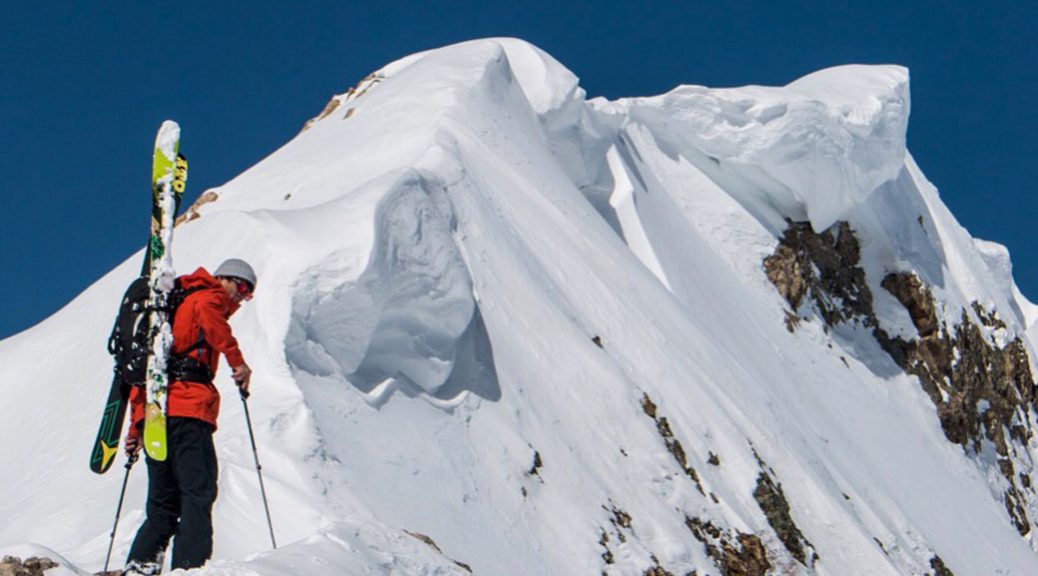
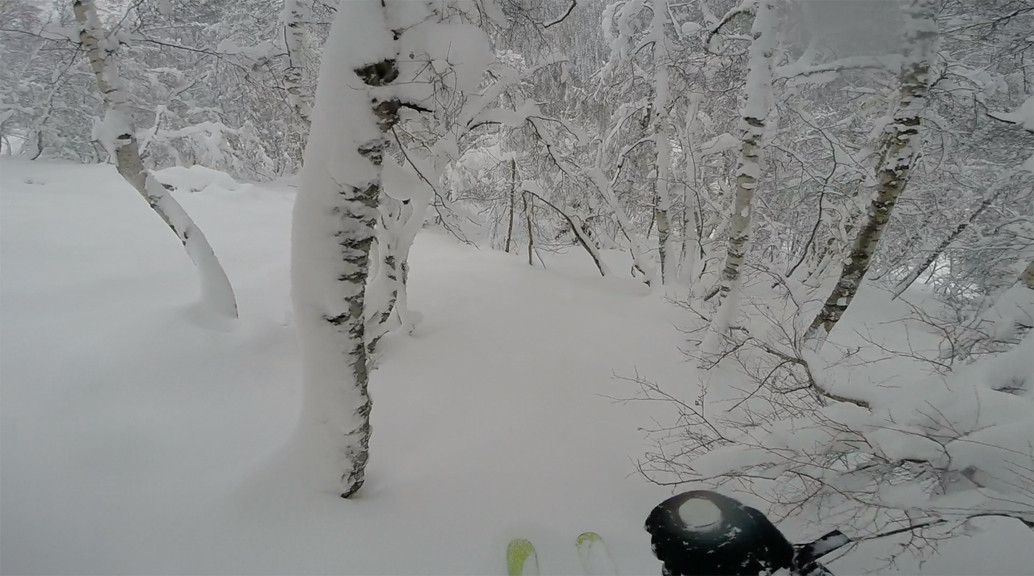
With the initial test out of the way, it was time to really put the socks through their paces. The planned route would be a twelve mile round trip, gaining a vertical height of 1400m (4600ft), and descending the south couloir of East Partner in the Gore Range, Colorado. Again, starting by headlamp in the early hours of the morning, the socks preformed excellently keeping my feet warm and comfortable for the first few miles of hiking. Once on the skis, and skins, everything still felt great. The thin slight compression-nature of the sock gives a great feeling that your foot is well held, and not moving around inside the sock or boot. The temperature regulation was good, which became more evident the longer the day went on and everything started to warm up. I have previously felt that once my feet get hot the socks can rub and create sores; this was not the case and I felt great all the way up and down. The trip, with its varied terrain, was more like an alpine ascent to the summit – including skinning, boot packing, and ice climbing in crampons – which took approximately eight hours; and I can truly say it’s the most comfortable my feet have felt all season. Don’t get me wrong I was super happy to get my ski boots off at the end!
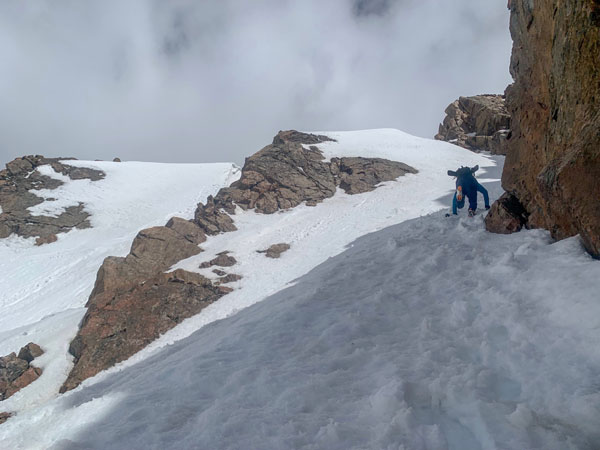
The trip, with its varied terrain, was more like an alpine ascent to the summit – including skinning, boot packing, and ice climbing in crampons – which took approximately eight hours. Photograph Joe
Stance has produced a full range of ‘360 Feel’ snow socks ranging from ‘All Mountain’ poly blend to the performance driven ‘Backcountry Ultra-Light’ merino wool blend. Whichever category you put yourself in I’m confident you will not be disappointed; and I’d seriously recommended heading to the Pro Shop, and checking out their Stance range of ski and snowboard socks, ready to dial in your ski kit for next season.
Please note for the 2019/2020 season the Stance sock range will be called, for either ski or snowboard: Performance, Merino Blend, and Ultra-Light
Merino Blend.