If you’ve not heard about Power Plate; its the ‘whole body vibration technology’ that helps fitness levels, including skiing!
Vibration Exercise
The advantages that can be gained from vibration exercise has been known for many years, but what does it actually do? Our American cousins were the pioneers of vibration exercise during the space race. This period in history saw the US and USSR competing for dominance in space. As the periods of time in zero gravity got longer, so did the noticeable side effects on the human body. A loss of muscle tissue, balance and co-ordination. What was the answer? Conventional exercise equipment is useless in a zero gravity environment.
The introduction of vibration exercise by NASA saw an end to these side effects.
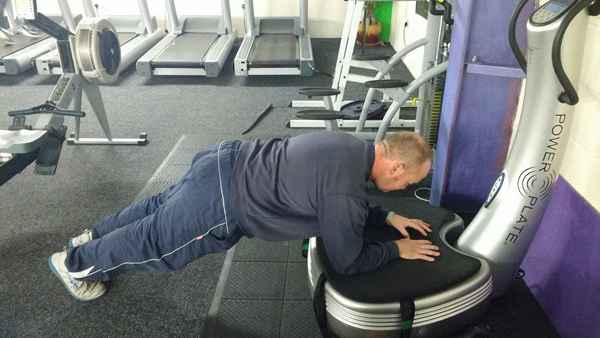
The Plank. The old favourite core exercise. A tough exercise even on the floor, but on the Power Plate it hits the core even more effectively. Core strength is vital for skiing.
Around 2005, some `bright spark` thought, this would work well in the fitness industry! So it started. Now we have everyone from actors, singers, professional sports people and average Joes. The principle is simple. The vibration will activate three times more muscle fibre than conventional exercise. When done properly, this is a deceivingly hard training concept. It can be used effectively by sports people to enhance performance.
Power Plate Exercises For Skiing
We spoke to Harvey at Universal Fitness Centre, Bourne, about using the Power Plate for skiers! He said:
“During December, January and February we see a massive increase in the use of the gym by people going on skiing holidays, and we have used the Power Plate to assist in their preparation. You will still need to address your cardiovascular needs, for skiing, but the Power Plate will strengthen the lower body and core ready for those downhill slopes. Here are two of the many exercises you can do!
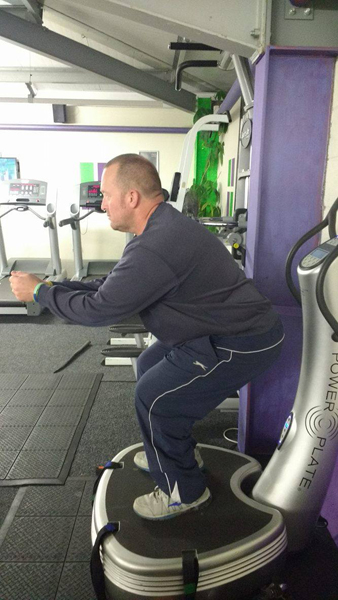
Free Standing Squat. Although in this picture I am adopting a sort of skiing position, it is still a squat. Getting used to being in this position for skiers is not a bad thing, but it is essentially a squat. Working the quadriceps, hamstrings and core.
If you think this could be helpful to you, before going on your next skiing trip, why not book a free 50 minute Power Plate induction. Just call the Universal Fitness Centre, Bourne on 01778 422424 and quote TLPP16.
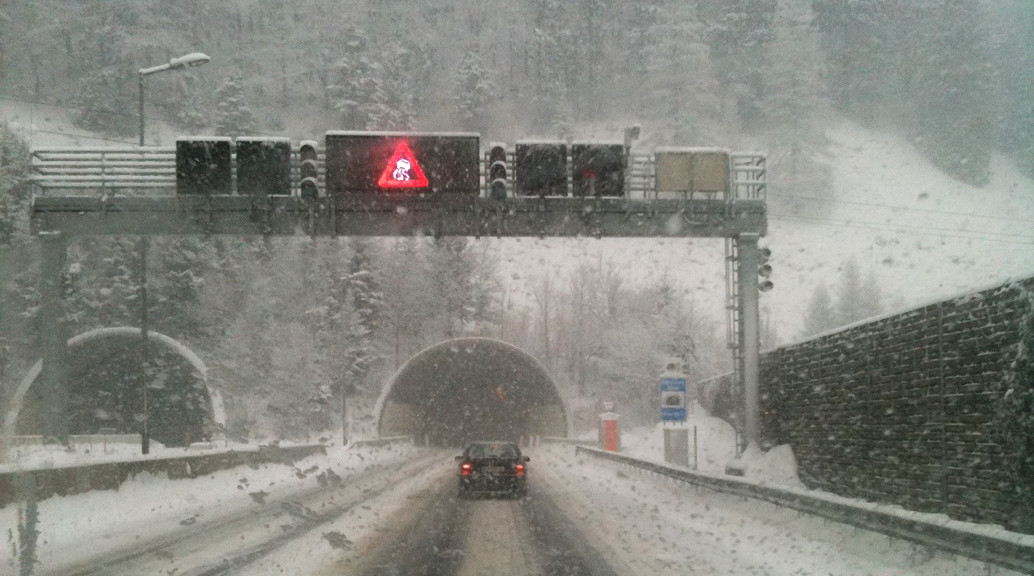
Ever fancied a crazy road trip to the Alps to test some skis and snowboards in three days, on a tight budget?
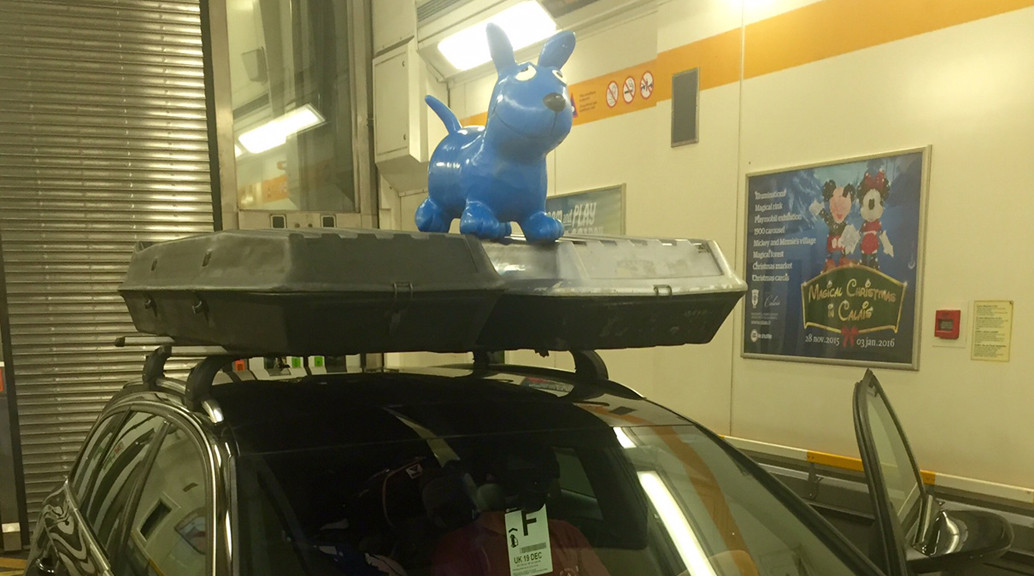
That’s exactly what Tallington Lakes Pro Shop staff did the third week in December. Leaving work at around 12:30 on the Saturday before Christmas; two very eager members of staff, along with Bernard the Blue Dog, collected their soup from the Edelweiss Mountain Café, Tallington Lakes and hit the road. Armed with two roof boxes full of kit – thanks to Atomic, Volkl, Salomon, Lib Tech skis, and DC snowboards – they hoped to find fresh pre Christmas powder in the moutain resort of Morzine! Here’s their account of the trip:
The drive to Folkstone was smooth, and we even managed to jump on an earlier train via the Euro Tunnel. Once on the other side we started the eight-hours, 540 mile trip across France. Having stopped for a steak dinner, and a fuel break, we arrived in Morzine to the stare of a friendly Gendarme pointing his rather large assault rifle at us and asking us to stop. Having been breathlysed, and laughed at for driving to Morzine for 3 days, we arrived at the Ardent Lift car park at around 04:30. We rolled out the sleeping bags and tried to get four hours sleep.
The morning came too quickly, with the sun beaming though the car windscreen, and the sound of other cars parking up for the day. We were ready for a black coffee, omelette, and to go and shred the “interesting” conditions that awaited us.
The first skis out the box were the Volkl RTM and the Atomic Redster Double Decker SG. The morning conditions of packed ice proved positive with this type of ski. The afternoon’s conditions of slush and bumps proved a hit with the Volkl Kendo, Atomic Vantage 95c and the Volkl One. Having more width underfoot enabled them to be very happy to pop over the mounds but still maintain very good edge hold.
The afternoon’s conditions of slush and bumps proved a hit with the Volkl Kendo.
Tuesday didn’t start to plan as we woke to the sound of rain and wind; but being Brits we still went up onto the non-crowded pistes. Unfortunately conditions weren’t fantastic to be able to test the skis, so it was time for the snowboards to make an appearance. The DC Mega and the DC Focus proved another success. With the afternoon proving a little softer, the Lib Tech Skate Banana made a very brief appearance.
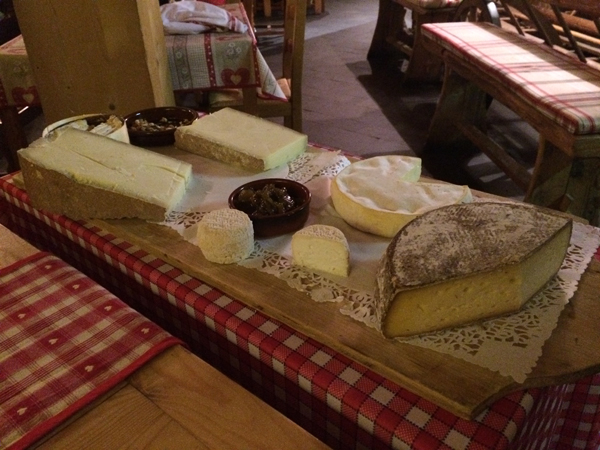
Tuesday night it seemed fitting to head out to Chez le Pere Bill for a French meal to prepare us for everything to come on Wednesday. As always, the meal had to finish with a few large glasses of red wine and a very well received Cheese Sledge.
The cheese sledge – Chez le Pere Bill, Morzine.
Wednesday started well with sunshine but still no fresh snow. We raced up to the car park and jumped on the Salomon X-Drive 8.0 FS and the X-Drive 8.0 Ti for a couple of runs. The conditions were proving bullet proof and it seemed fitting to break out the Atomic Redster Double Decker SG again. This is certainly a ski that has to be carved.
With the afternoon getting bumpy again we headed up to the Chaux de Rosee lift and to our favourite slope. It was a blue run that was very narrow, very slushy and very bumpy. As it was the last afternoon we chose our favourite ski from the trip and proceeded to ‘bounce’! Our review of the skis, and snowboards, will follow shortly.
Finally, after packing up the car, the boxes and sinking another two black coffees we were on the road back to Calais. We arrived at the Euro Tunnel for 02:00 and even with the current situation managed to jump on an early train. With a quick three-hours sleep we strolled back into work all bright eyed and bushy tailed with Bernard the Blue Dog!
It’s getting to that time of year again. Ski trips may or may not be booked or you may be going away as a large group and that question may be returning, “Should we drive to the alps this year?” My first thought when thinking about this subject is “ROAD TRIP……….”
When searching for flights, you can obviously find that bargain that everyone is searching for. Personally, I have found flights from Stansted to Salzburg for £70 return.
Flights are certainly cheaper but if you’re adding your skis and snowboards then it can be more expensive.
If you have the time available, and there are three or more of you, then the cost will always look more favorable to drive than fly. Also cars can carry another 75kg, of ski/snowboard gear, on the roof (with bars and a box) so it looks even more appetizing.
To break it down, the main costs involved are crossing the Channel, fuel and tolls or ‘tax vignette’:
Crossing the Channel
Whenever I have looked into the crossing DFDS Seaways have normally been the cheapest. They offer services roughly every hour from Dover to either Dunkirque or Calais. It can add on time though which is why the Channel Tunnel can be more accommodating.
Fuel
I have only taken diesel vehicles across and depending on where your final destination is, can normally do it from Calais in just over a tank of fuel. Fuel normally is also cheaper in mainland Europe, but always worth looking before you go.
Tolls or Tax Vignette
The French use ‘tolls’ across all their major roads going south which can add around €70 each way in costs. The Austrians impose a ‘tax vignette’ for driving which is normally around €15 for a week. Our friends, the Germans, are currently the only country that does not enforce a cost to use the lovely Autobahns – ya das its gut!
Other Costs To Consider
Depending on where your final destination is will also determine if you need any compulsory items that certain countries enforce, such as snow tyres, snow chains or breathalyzer kit.
Not going to go into too much detail here but these are important factors to consider for European driving:
Full original documentation must be presented if required; photocopies will not be accepted
Head light converters
Warning Triangle
GB Sticker or GB badge on number plate.
Bulb kit
Hi-Viz jackets; one must be assigned for each person in the vehicle, and make sure these are in the vehicle and not in the boot France
Snow Chains must be carried in all vehicles from 1st November through to 31st March. When the snow gets heavy, the police will stop you and enforce they are put on
Breathalysers must be carried within the vehicle Austria and Germany
Snow chains are not compulsory in Austria or Germany however snow tyres are, and all vehicles from 1st November must have snow tyres fitted
Driving
Obviously driving in Europe can be a lot different to that in the UK. The laws are different, the speeds are faster and the police can, and will, pull you over if your car doesn’t look like it will make the journey. As with any driving, always consider and look for your rest stops along the route. All the main roads I have driven on in mainland Europe always seem to be well kept with the services clean and tidy. Fuel stops are sometimes hard to come by as the roads are so long, so don’t be worried if you haven’t seen a fuel sign for at least a 1oo miles.
The driver seemed to think that when the dash said ‘o miles’; it actually meant he had another 50 miles in the tank. Oops!
Pros:
You can take more kit; the only restriction is the size of your vehicle and how much kit you own
You ave the flexibility of a car when you’re in resort to go and explore areas
Cons:
More time consuming and can cut into your trip and potentially your ski time
Initial equipment costs such as snow tryes, snow chains, roof bars, roof boxes, etc
Routes I Have Personally Driven
Calais to Meribel (Le Troi Vallees)
A very simple route south. The towns of Saint Quentin and Dijon offer places to stop for the night. The hardest part will be the gentle mountain route up to Meribel. If it has been snowing at any point during the day then you can bet the Gendarmes will be out enforcing the use of snow chains. At the height of season, it isn’t uncommon that it can mirror the M25. Roughly 900 Km with a driving time of just under 10 hours.
Dunkurke/Calais to Flachau Ski Sportwelt Amade
Having worked in Austria for a couple of seasons, this is the route I have driven most. I would always recommend taking the slightly longer route through Belgium, The Netherlands and Germany when heading to Austria as it saves the Tolls through France. It will add around 25 minutes onto your journey, which in the grand scheme of things isn’t that much. The drive is pretty straightforward and once in Germany the speed can be picked up on the Autobahns. You may hit some traffic around Munich at any time during the day but then heading to Salzburg is easy. Just remember your Tax Vignette at the border. Roughly 1100 Km with driving time of just over 10 hours.
Calais to Morzine (The Portes Du Soliel)
Again a pretty simple drive. Straight off the ferry and it follows the same route as Meribel and all the other ski resorts. The differences being you need to turn off at Geneva to head up to the mountains. Geneva is a beautiful city if you get the chance to pop in or stay there. Roughly 800 Km with a driving time of eight and a half hours.
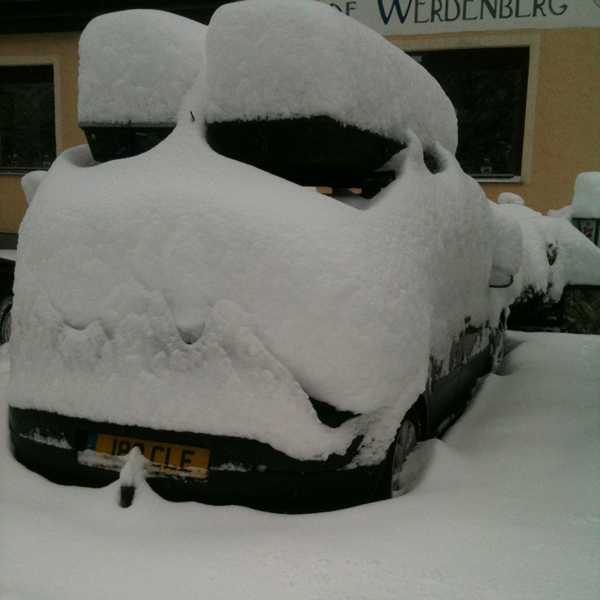
When leaving your car for a prolonged period in the snow. Pack salt or grit into the tread of the tyre. When you come to pull away it will give you just enough grip to get moving.
Things to Remember When Driving in Europe
Remember that Europeans drive on the “wrong” side, and its probably the most enforced as you get straight off the ferry or train.
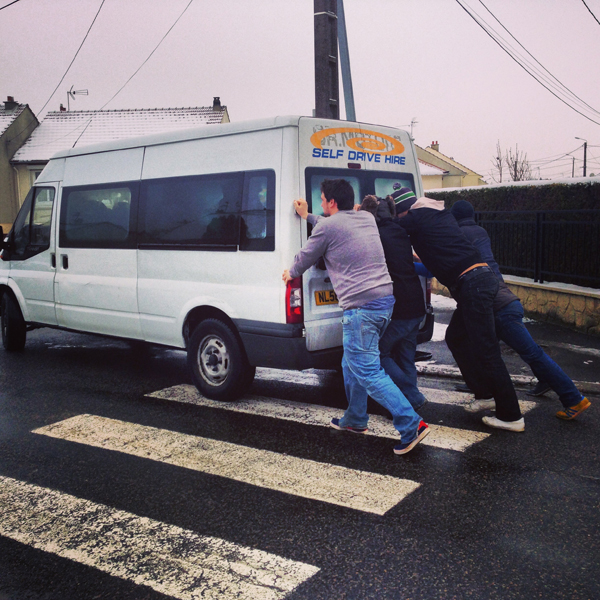
Most of Europe shuts on a Sunday. A very important note to remember when driving. Apart from the main shopping centre’s and anything in a large holiday resort, everywhere does indeed close. Again, as the photo suggests, even petrol stations in local towns are closed.
European police can seem to be more heavy handed than UK Police. As long as everything is in check regarding your vehicle and what to carry than you have nothing to worry about. Although driving a UK plated vehicle does attract attention so beware!
When driving in Europe, it is the responsibility of the driver to enforce everyone is wearing seatbelts. The driver will be liable for a fine. Something I have found out.
Drink drive limits mainland Europe are higher with the fines heavier. My advice would be not to risk it at all. The French base it on how long you have been driving. E.g. if you have been driving for 3 years or less then the limit is 0.02%.
Devices that can detect speed cameras (Road Angel) are illegal in Europe.
Practice fitting snow chains back in the UK. It is not fun when it is minus 5, cars are whizzing passed you and everyone else is in the car nice and warm. A set of gardener’s gloves is always handy!
When leaving your car for a prolonged period in the snow. Pack salt or grit into the tread of the tyre. When you come to pull away it will give you just enough grip to get moving.
Keeping a shovel and a bag of soil (being serious) in the car is a definite. You never know when you will need to dig yourself out and packing soil just underneath the tyre can help you get out of deep snow.
For me, it’s a definite YES. If I have the option when looking at booking a trip to the alps then I will most certainly take the car across. However, I do understand that it isn’t for everyone and that flying across is a lot less stressful and can sometimes get you there faster.
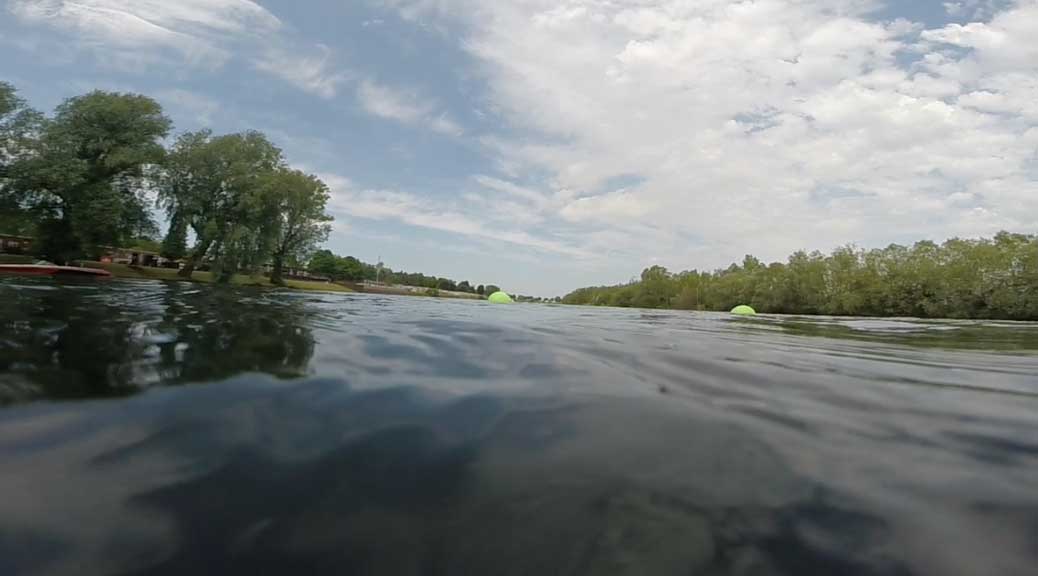
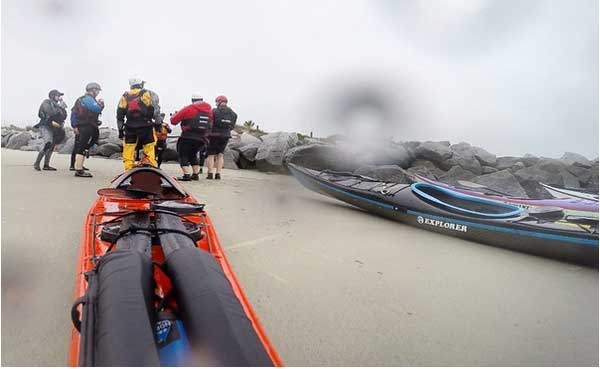
We have all been there, the soul destroying moment when you plug your SD in and watch what was guaranteed to be the best day of filming, only to find the dreaded water-drop has made an unwelcome appearance, again.
Water droplets can ruin your photograph!
Well here is a potential solution! The GoClear Hydrophobic Lens Protector greatly reduces splash marks and scratches, using patented technology to repel even the dirtiest water droplets, so you can capture outstanding recordings, even in the worst of conditions. The adhesive protector features:
Scratch Resistant
Fingerprint/Oil Resistant
Long lasting Hydrophobic Properties
Perfect Clarity
Easy to Apply
Fully Submersible
Perfect for any extreme-sport, owing to its silicon based adhesive it is also fully submersible whilst retaining long lasting hydrophobic protection.
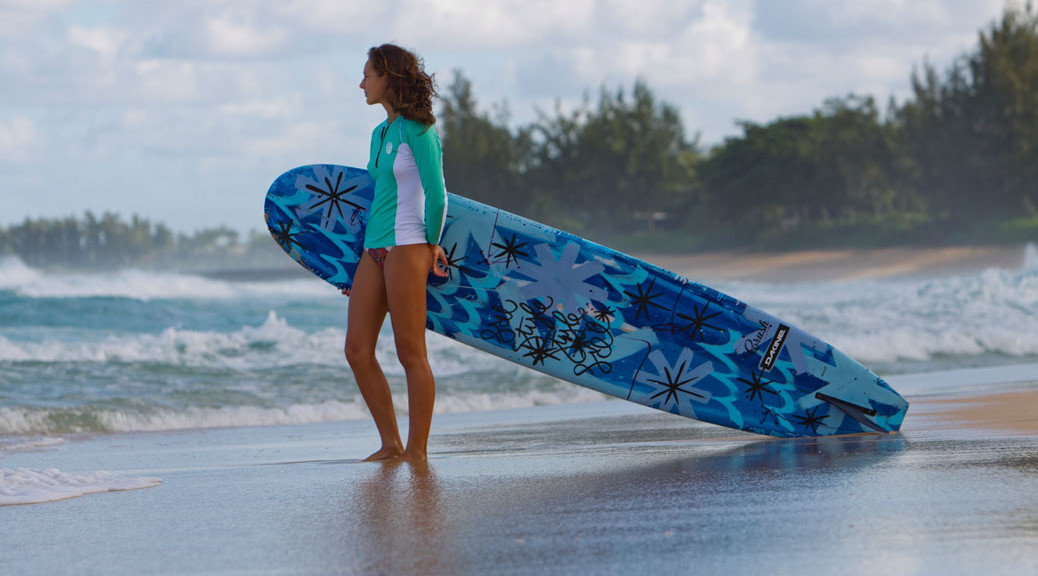
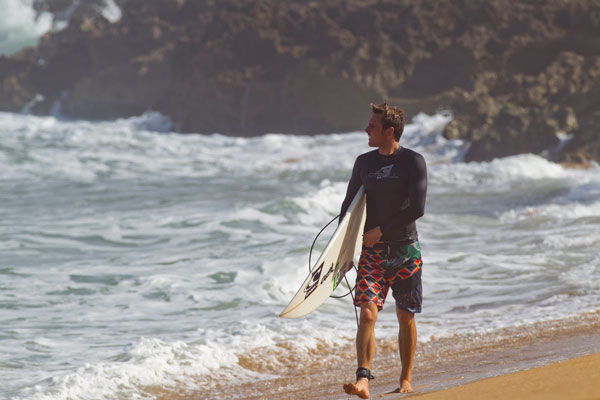
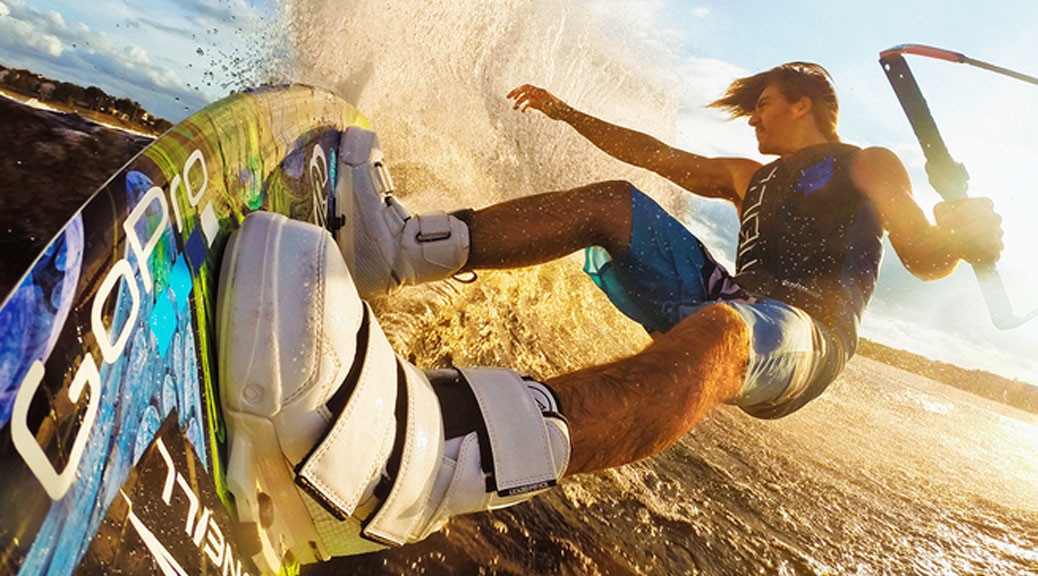
New to the scene or been in the water sport game for years its more than likely you’ve heard the term rashie aka rash guard or rash vest! No matter the term this is a vital piece of kit worth adding to your water sports gear.
Rash vests are normally worn under your wetsuit to help prevent chaffing. O’Neill rash vests have been specially designed to achieve this through the use of numerous materials and flat loc stitch construction which helps provide a softer, lower profile seam erasing any possibility of rashes occurring.
Ever worried about your sun cream washing off? Wearing a rash vest will give you that peace of mind and protection against harmful UV rays that you know won’t wash off! Don’t risk it! Most O’Neill rash vests have a 50+ UV rating or above perfect for those extremely sunny days out on the water. Even if it’s too warm for a wetsuit O’Neill rash vests are so versatile they can be worn either on their own or under other clothing, but still give amazing protection.
When it comes to water sports you don’t want to be worried about your top rising up during a high impact crash so O’Neill have added a feature known as the board short connector allowing any board short to be securely attached to your rash vest preventing any unwanted embarrassment.
O’Neill Team surfer wearing a rashie, rash vest or rash guard!
Materials
Rash vests, what makes them so comfortable? The materials are generally a combination of specially selected lightweight materials such as nylon, spandex and polyester producing what’s known as lycra to you and I. This lycra material is around 0.5mm thick and comes in a variety of stretch; 2 way, 4 way and 6 way stretch giving you different levels to suit any environment. (Link to board short blog)
Fit
With any clothes or shoes the correct fit is important, rash vests are no different! Being a super stretchy material allows the rash vest to perfectly mould to your body shape ensuring all areas are protected.
However, with more people wearing them as UV protection a loose t-shirt style rash vest is available.
Typically a rash vest is worn as a tight fitting garment but even if you don’t like tight, body hugging clothing as long as you’re comfortable with your rash vest it will still give you that protection required. Including the figure hugging compression rash guard for long distance endurance sports.
Thermal Rash Vest
Nobody wants to cut their session short due to getting cold. A thermal rash vest does exactly what it says on the tin; provides a thermal layer for added warmth yet still gives protection against UV rays. O’Neill thermal rash vests come in a variety of styles from hooded to sleeveless vests so you’re covered for all conditions.
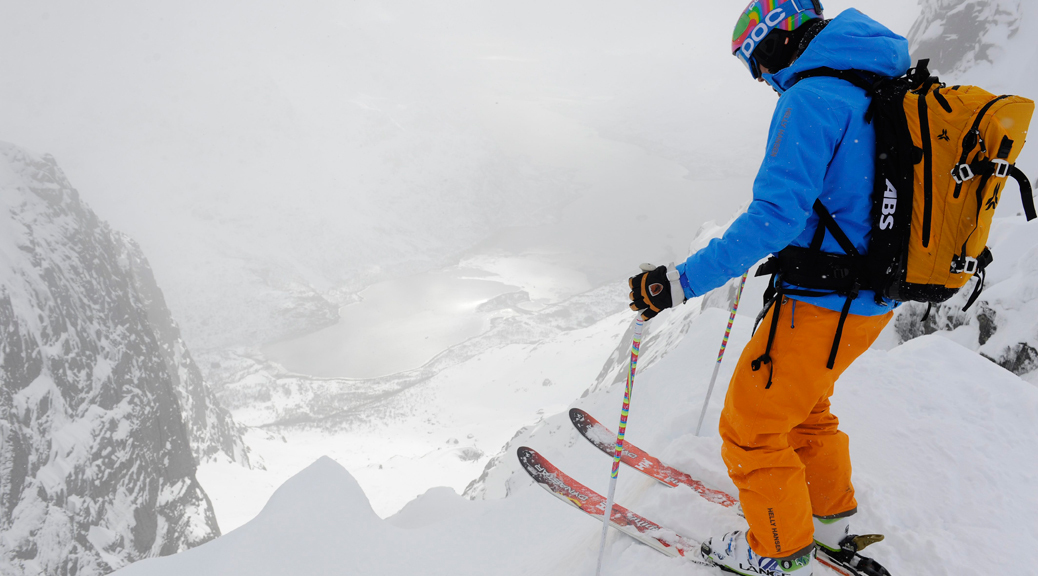
The innovations in point of view (POV) cameras in the last five years have changed the way we are able to capture our favourite action sports. However it seems sometimes that the footage people get from there action camera doesn’t quite live up to there expectations. I thought I would write a short blog on how to film skiing with a GoPro and get the professional looking results you are hoping for.
The first step in making a great edit is having a clear idea of the shots and footage you want before even leaving the house. The gift and the curse of POV cameras is that they are capable of shooting anywhere and anything, this means we can end up with hours of footage on the memory card much which will never be used or even replayed. Having a concise vision of what you want to film can save hours of trawling through your memory card waiting for a useable shot. Angles to shoot from are endless with a GoPro but where they excel is from a close intimate angle as the fish eye lens captures images at such a wide angle. With this in mind the key to getting consistently good results is making sure the camera is close to the point of action you are trying to capture. This can be achieved by the huge variety of GoPro mounts which are available and allow you to self film but is more critical if you filming somebody else.
So once you have a clear idea in your head you can go out and get the shots you want this is where a basic understanding of the camera settings comes into play. The latest GoPros are able to shoot at 120 fps (frames per second) in 1080HD or 60 fps in 4K however there are a variety of different shooting modes beneath these. So what setting should you use when, basically the highest quality shot will require shooting in 1080HD or 4K on the newest models. This setting will mean the cameras is taking in the most information it can,providing the highest image quality when replayed. However shooting in this mode means you will compromise the fps rate. This is where having an idea of what you want to achieve is important. The higher the frame rate the better the quality if you want to slow the shot down, so to achieve that super slow motion effect used so often in GoPro videos you need to be shooting in the highest frame rate – ideally anything above 60 fps will you good results when slowed down.
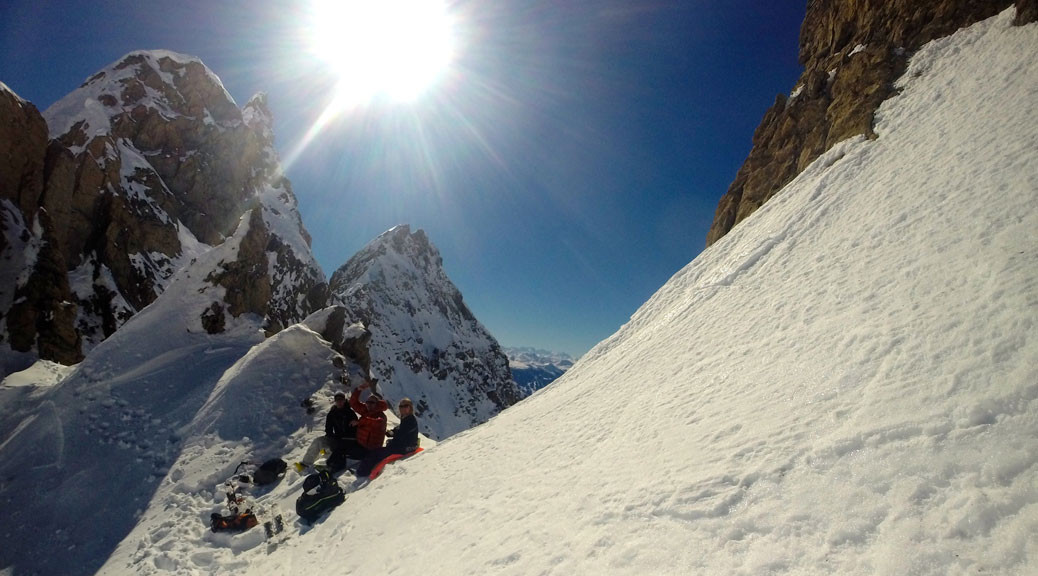
In regards to getting the best results in slow motion there are a couple of things to consider when actually filming. Firstly try and keep ‘camera shake‘ to a minimum; there are a vast selection of accessories to help with this from pole mounts to tripods. I recommend making the small investment as it will really improve the quality of your images. Secondly reducing the ‘background’ noise in the frame means it is easier for editing software to link the frames when slowed down. So try to film the action with a blank background for example if someone is doing a jump try to make the backdrop the sky this will result in smoother images when slowed down.
A final thought in regards to getting the most from your GoPro is choosing the days you film and how you film. If you look at any of the professional GoPro clips online you will see a common theme they are all shot on the brightest days. The images on these days will always have better contrast and will really come alive on your screen. However skiing isn’t always blue skies and sunshine if you do end up wanting to capture that epic white out powder day you will need to do some after editing. To achieve that same definition in your images you will need to increase both contrast and saturation whilst reducing exposure. The free GoPro Studio is a great bit of software to start learning the basics of editing and improve your film making skills. It also has fantastic compressor which will reduce the final file size of your edits, due to the quality of GoPro footage quite often files can be large so this a great feature especially if you like sharing you edits on social media.
Hope this has been useful and you enjoy going out and capturing your next big adventure!
Whether you want to capture some extreme sports footage or family days out at the beach, a GoPro action camera could suit all of your needs but choosing what package or accessories to accompany your purchase can be a daunting prospect with the wide variety of options available. So what GoPro do I need? This guide will provide you with all the necessary ‘nuts and bolts’ to make an informed decision to pick that perfect package.
There is no right or wrong choice when it comes to choosing a GoPro, ultimately the decision is purely subjective and based on a few bits of key information:
Budget?
What are your performance requirements?
Conditions and Environment mainly used?
This guide will focus on the newest range of GoPros as the new features found in the Hero 4 Black and Silver edition plus the Hero should not to be missed.
Budget ?
As with any new purchase budget is the most important factor. These following GoPros are the newest editions to their existing range and you would think all have a high price tag to match, but no! The new Hero is the most affordable entry level action camera yet. Whereas the Hero 4 Black and Silver feature higher specs so the prices inevitably follow this:
Hero 4 Black – £409.99
Hero 4 Silver – £329.99
Hero – £109.99
What are your performance requirements?
What you want from your camera in regards to image quality and features quickly follows budget, as its important in not only choosing a GoPro that meets your requirements but doesn’t exceed them if not necessary as you could find yourself spending more money than you need to, which could be better spent on accessories.
When it comes to filming or photography would you class yourself as a professional or amateur? The answer to this simple question will help steer you in the right direction to picking that perfect camera.
GoPro Hero
This new entry level camera the ‘Hero’ is perfect for beginners and amateurs who are looking for that step onto the ladder into the action camera world helping people to capture and share their life events around the world.
The mid ranged camera in terms of spec the Hero 4 Silver will appeal to the amateur who wants more from their camera, this year it has much more in common with the Hero 3+ Black and the Hero 4 Black. The Hero 4 Silver has been given upgraded components and numerous new recording features found in the Hero 4 Black.
Not wanting basic features found in the Hero, or don’t need professional quality images the Hero 4 Silver could be the perfect match for you.
GoPro Hero4 Black for the avid enthusiast or professional photographer.
Hero 4 Black
One for your avid enthusiasts or professional photographer, the Hero 4 Black is finally here and features technology that makes this an unbeatable camera for both build and picture quality. The processors now give twice the power of previous editions with the ability to film cinema quality 4K video.
This is certainly the go to action camera if quality and performance is what you seek.
Conditions and Environment mainly used in?
After choosing what model of GoPro you want it’s important to understand what mounts and housing you get with the standard edition. Whether its surfing, skiing, cycling the GoPro is protected by its own sealed housing, which is waterproof to 40m and impact resistant, giving your camera the best protection available perfect for a variety of extreme sports.
For times when a waterproof housing is overkill simply remove your camera (except Hero) and start filming, this gives you better sound quality and reduction in weight ideal for time-lapse photography or for some inside filming around the dinner table, no matter the condition or environment GoPro has you covered.
Mount and protect your GoPro whatever the activity!
Standard Edition Hero 4 Black/Silver/Hero
Ideal for a wide range of applications where specific mounts or housings are not needed, this is a perfect starter bundle to get you filming some amazing footage.
Standard Housing
Skeleton backdoor
Touch backdoor (Only available with Hero 4 Silver)
Rechargeable battery
Curved and flat adhesive mounts
Quick release buckles
3 Way pivot arm (Not available with Hero)
USB cable
Note. For you music lovers, the only addition to not have a waterproof housing as standard is the music edition, but if you find a situation which requires additional equipment you then have the opportunity to kit you new Go Pro out with the vast range of unique and exciting accessories.
GoPro Accessories
The new models of GoPro are so versatile they can be used and mounted in a variety of situations, but certain mounts and accessories don’t come in the bundles. Below is a handpicked list of items we feel are important to get along with your camera especially if you like a mix of action and water sports.
Battery Bacpac
For situations where you need a little extra juice, the Bacpac is a removable battery pack that seamlessly attaches to the rear of your GoPro. The new model now features a 15% increase in battery life perfect for a long days recording.
Pole Mount
For situations when you need to mount your camera to a ski pole, handlebar, kite control bar or seat posts, suitable for a thickness between 1.9cm – 3.5cm. Also comes with a pivoting orientation arm to give you 3-way adjustability.
The chest harness lets you look at things from a different perspective!
Chest Harness
Ideal when you need both hands free and no other mounting point such as a helmet is available or you just want a lower view of the action, the chest mount makes it easy to capture footage where ever your turn. Come with a wide range of adjustability to suit all sizes.
Floaty Backdoor
After all you wouldn’t want your new GoPro sinking whilst out on the water so why not attach the Floaty Backdoor. It’s quick and simple to attach coming standard with extra strong 3M adhesive glue.
Anti Fog Inserts
Even though the housings are completely waterproof fogging can sometimes occur in extreme cold or humid environments, by placing an anti fog insert inside your housing this fogging is prevent ensuring hours of uninterrupted filming. Each set lasts 4-5 times and can be dry in an oven.
Got your jacket, bought some skis, time to accessorize the look? Your first port of call has to be snowpants. While colour is top of most people’s criteria, try to buy snow pants like you would a jacket, consider their technicality: how waterproof and breathable are they? Do they have a fitted gaiter? Are there air vents? Are they innovative or a safe bet?
Snow Pants For Your Bottom Half
While people often consider snow pants as an after-thought, you should treat your bottom half as being as important as your top half. While the insulation of a jacket is crucial, your core temperature will drop in an instant without it, the waterproof level of trousers is is the most important element. Imagine sitting on a ski lift and all you can think is how wet your bum is; far from ideal with a long day of skiing ahead of you!
To prevent indecision, and help you on your way to the perfect snow pant, here is our instructors’ top 5 from our current selection.
Burton’s Cargo Mid Snow Pants
Burton’s Cargo Black Mid Snow Pants, at £159.99 are a tailored technical pant. With a waterproof rating of 10,000mm, Fully Taped seams, and no insulation, these pants will keep you dry whatever the weather and with no insulation, they are pants suitable for every season. Add to this a mesh-lined test-I-cool vent system; these cargo pants are multifunctional and practical. Burton cargo pants are the most robust and durable while maintaining an excellent level of technical features.
Nike SB Ruskin Snow Pants
To invest in a classic pant which is expected to come to an end this season, head for a Nike SB Ruskin Brown, £147.99. With an adjustable stretch waist, side zip vents for breathability, interior cuffs with stretch binding and zip outer cuffs to enable quick changing and a custom fit, articulated knees for a natural range of movement, 10,000 waterproofing and breathability rating, fully lined, and full taped seams; this is a pant that just keeps on giving. Invest in an iconic snow pant that will see you through numerous seasons.
Nike Ruskin snow pants in brown, for this season only!
Picture Royale Snow Pant
Want to buy something evidently technical? Are you an eco-warrior? Picture is the brand for you, and their Royale Blue Snow Pant is the snow pant of choice. At £189.99, you will feel the burden of its technical features on your wallet, but they are worth every penny. While their critically taped seams are not for everyone, they still boast a crucial 10,000 waterproof and breathability rating, a powder skirt and connect to jacket system to ensure maximum comfort, warmth, and minimal snow entry points; features which will guarantee that you stay warm and toasty on the slopes. With venting zippers and a drawstring system, accessible from the pocket, which lifts the bottom ensuring easy changing, Picture has considered everything. These snow pants are for the gadget lover among you.
Salomon Response Snow Pant
Meanwhile, for a cheaper option, head to Salomon for their Response Black Snow Pant, £139.99. This is a no frills pant that is designed to be practical and affordable. With the standard 10,000 waterproof and breathability rating, fully taped seams, inner leg air vents, an internal fleece panel, knee articulation, and a powderskirt; this pant combines all the positives of the others at a fraction of the price. If you want a technically sound product that does what it says on the tin, this is for you.
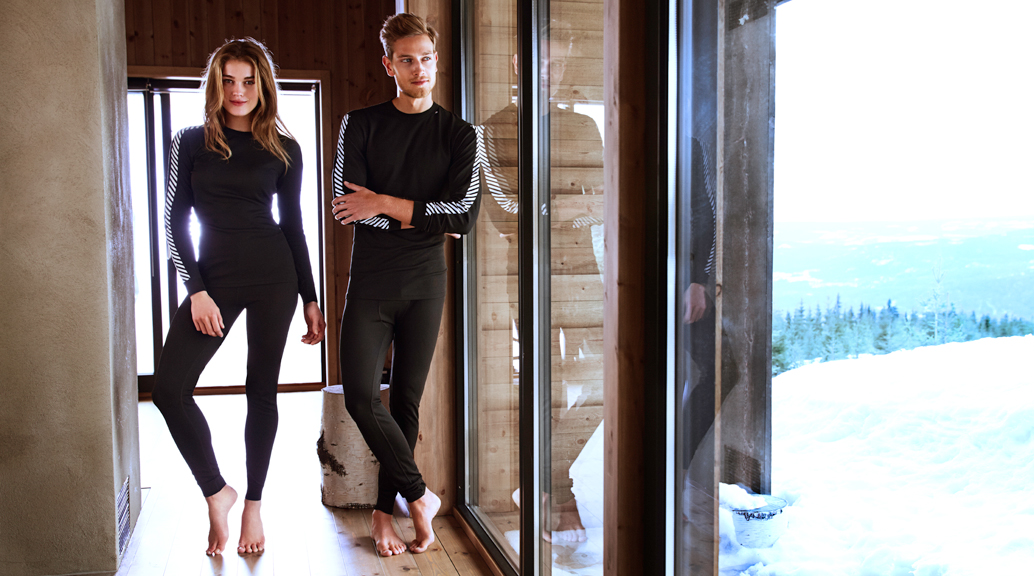
An often overlooked, yet crucial bit of kit which will ensure maximum comfort on the slopes is a base layer. The addition of a base layer maximises the efficiency of your top layers ensuring that you feel the benefit of your jackets excellent breathability.
What Are Base Layers?
Designed to wick away sweat from your skin, base layers ensure that core body temperature is maintained. Base layers fall into two main categories, synthetic or merino wool; pick depending on whether your priority is to stay dry, or dry and warm. In synthetic base layers, moisture is moved through to the outer layers quickly through a process of capillary action, known as wicking. Meanwhile in merino layers, warmth distribution is maximised, yet wicking properties are reduced. Whichever you pick, ensure that base layers are tight to the skin to maximise their wicking abilities.
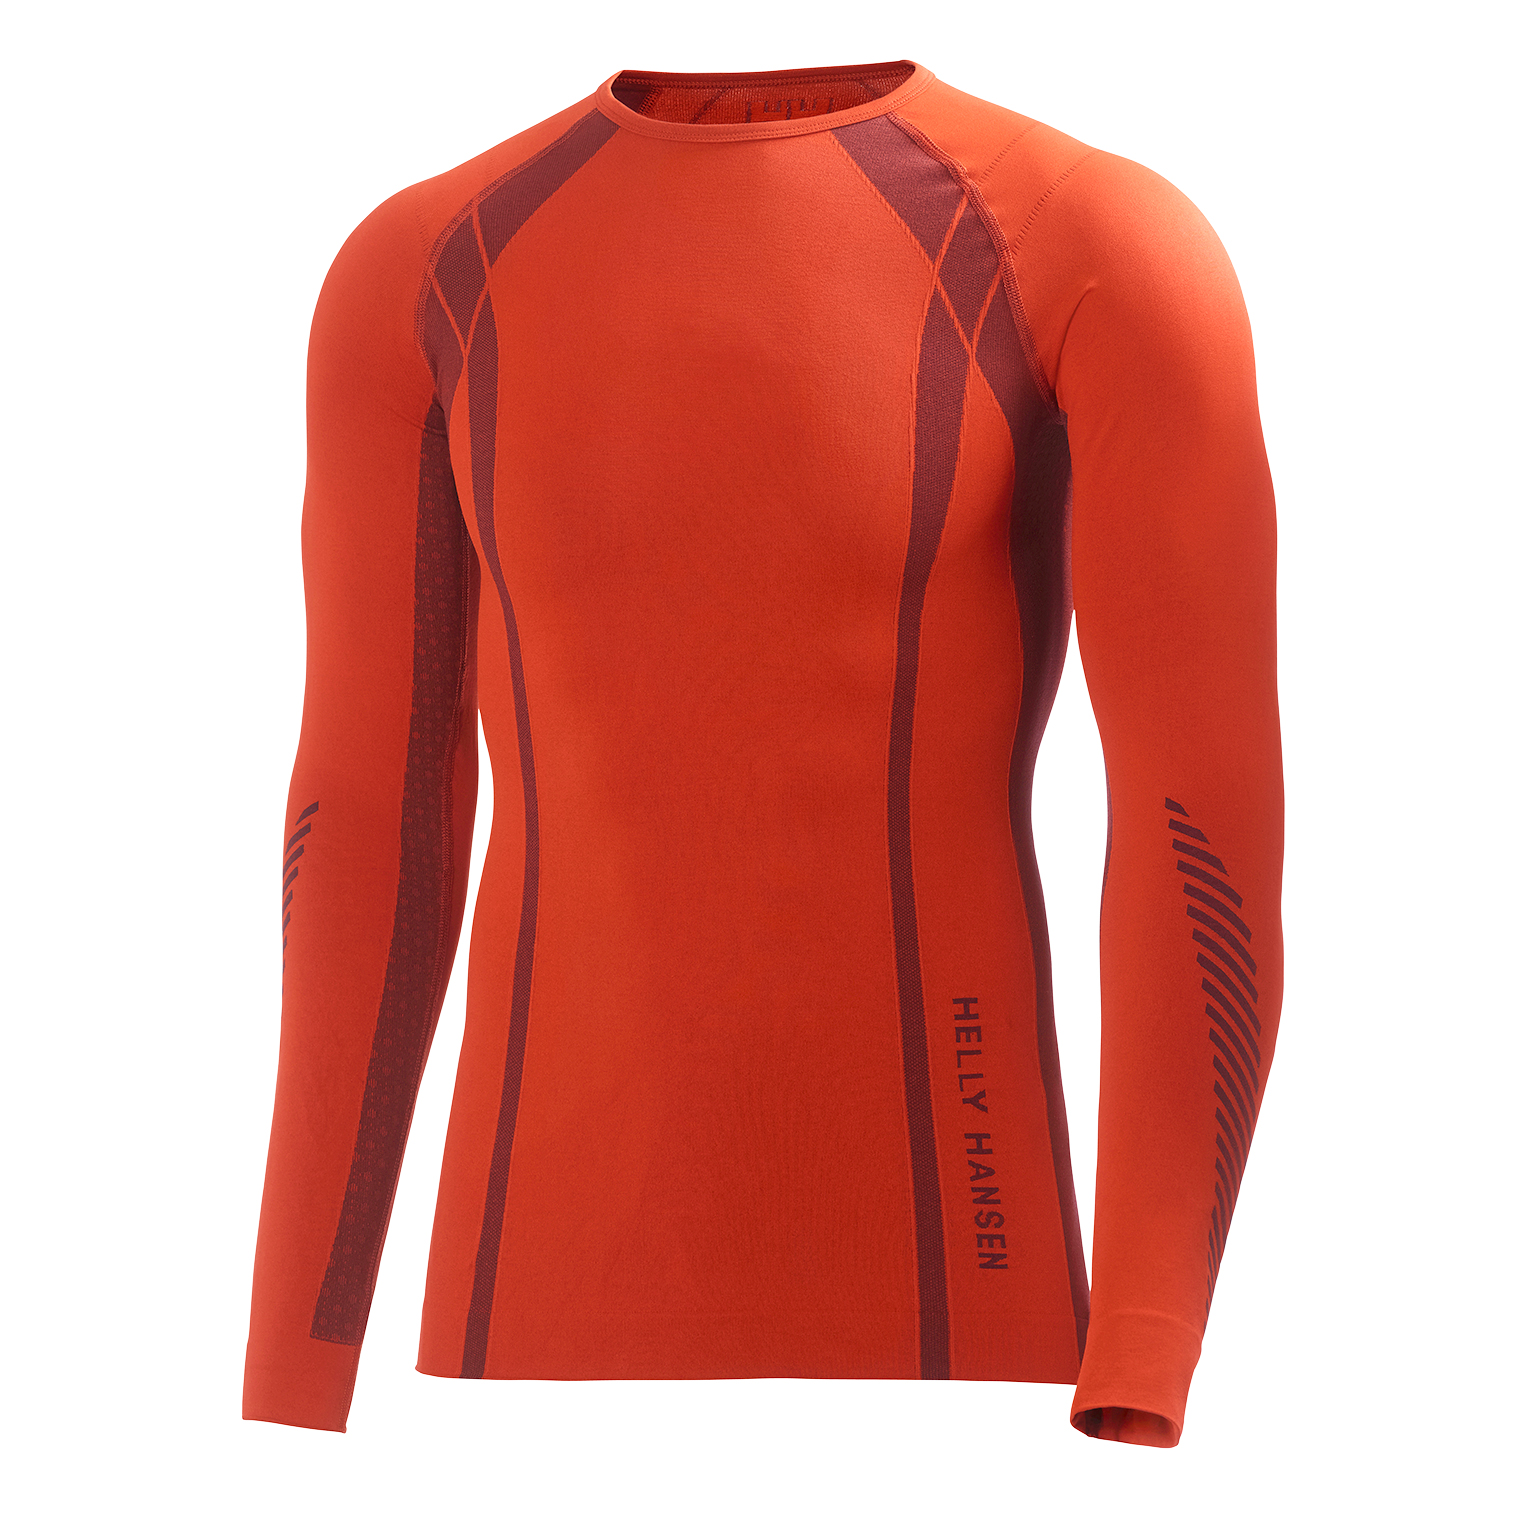
Helly Hansen Dry base layer in red.
Base layers too expensive when you could just layer your average cotton t-shirt? Think again. Base layers are expensive for a reason. The layers of material, whether synthetic, merino wool or most recently bamboo, ensure effective wicking so, unlike cotton which holds sweat close to your skin keeping you clammy or cold, base layers wick away moisture preventing sweat from sitting on your skin. Investing in a good quality base layer ensures that all the more expensive bits of kit become more effective; a high breathability rating means nothing if the moisture does not reach the jacket. Lastly, without a base layer, optimum core body temperature will not effectively be maintained.
The First Base Layer Manufacturer?
Helly Hansen of course. Their introduction of base layer technology, in the form of LIFA, was revolutionary in the 1960’s and 70’s and led to them being awarded the Nobel Prize in 1963. LIFA refers to the specific yarn spun from polypropylene fibres, a fibre which keeps the skin dry and warm. And from LIFA’s simple origins, Helly Hansen have now adapted LIFA technology to provide cross purpose base layers which have a LIFA technology interior, and a merino wool exterior.
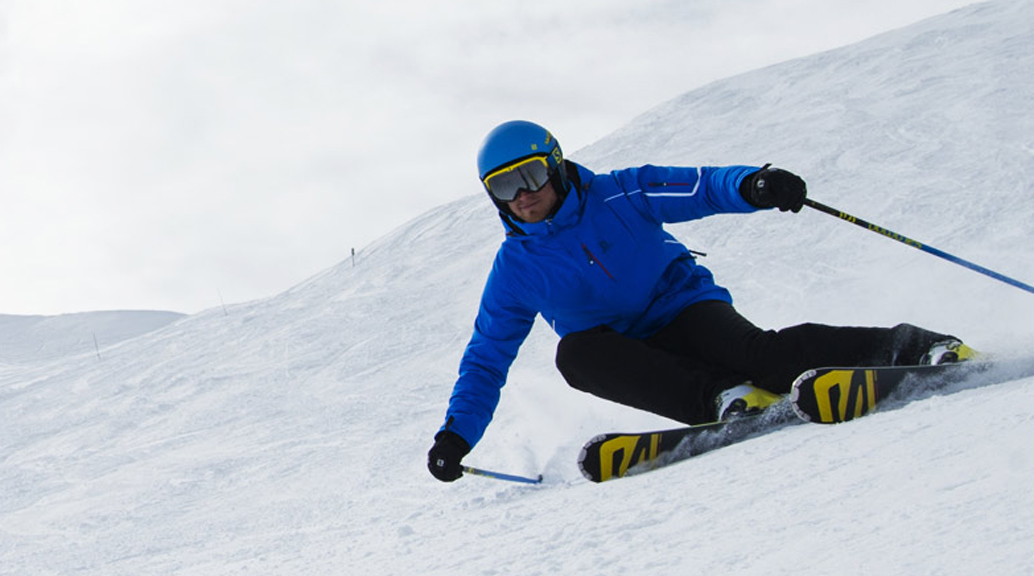
The snow glove or snow mitt debate is one of the many decisions you will have to face up to when buying your kit for this ski season. Trivial it may seem but vital nevertheless, I can’t imagine anything worse than cold fingers on a mountain!
Despite the same construction materials, the differences in shape are crucial. While gloves ensure mobility, mittens increase the warmth potential due to your fingers being in the same compartment. Here starts the catch 22 decision; warmth or mobility, obviously you want both so how to decide?
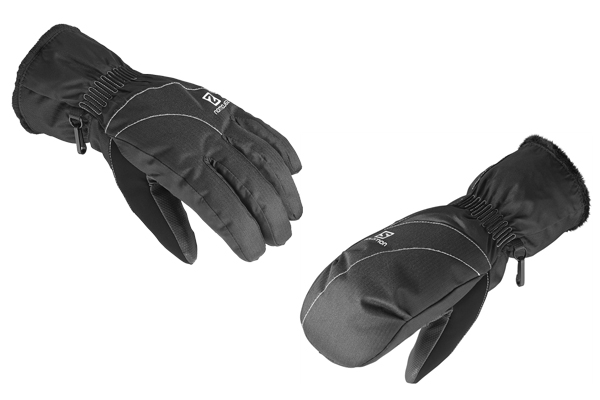
Do I buy snow gloves or mittens?
Snow Mittens
Mittens: reduced dexterity reduces versatility but if you get cold hands on the mountain, mitts are a no brainer.
Snow Gloves
Gloves: the established first choice of many skiers due to their exceptional mobility, they also have their faults; expect colder hands than mitts so be warned if your fingers are prone to getting a bit nippy.
Mitt or glove is fundamentally a personal preference but, whichever you pick, ensure that they are a good fit and are made of Gore-Tex where possible. The fact that the Salomon Women Force GTX Insulated gloves and mitts remain the most popular piste hand accessory, despite their elevated price, is thanks to the fact that they are made of Gore-Tex. These gloves and mitt are testament to the fact that Gore-Tex as an outer material is well worth the extra pounds, ensuring the best in breathability and waterproofing while on the slopes.
No matter which you pick, ensure that second to the type put the material at the fore and buy Gore-Tex if you can stretch your wallet a little further.