Why SUP Yoga?

SUP yoga is becoming increasingly popular and with good reason – it’s not only great fun but a fab workout too, providing an excellent way to get your yoga fix whilst being out on the water. Here are my top reasons why I love to do my yoga practice on my SUP.

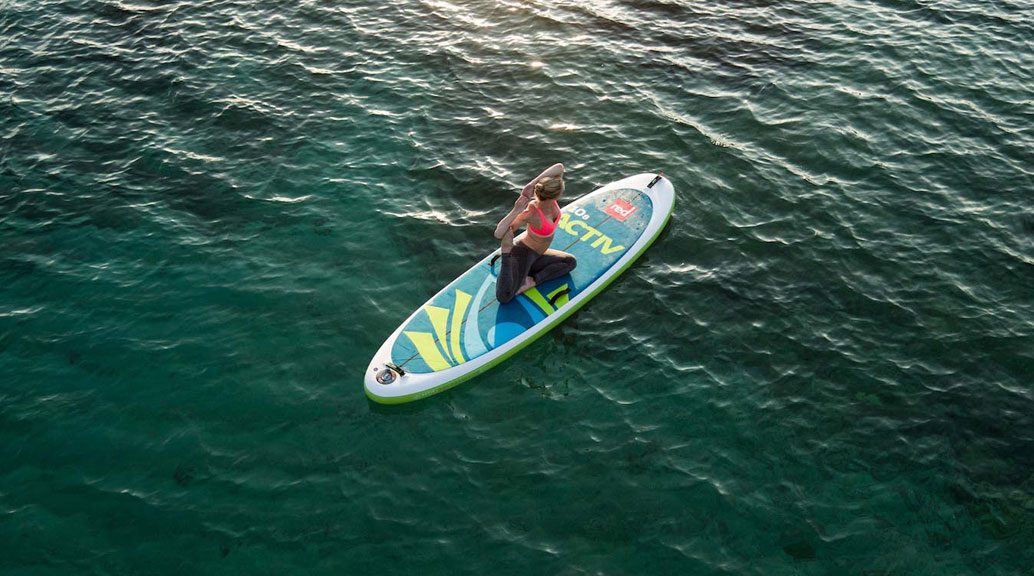
One of the main things I love about doing yoga on my SUP is it’s a completely different experience to being on a mat in a studio – it really takes everything I think I know about my practice and throws it up in the air (or into the water should I say!) Playing with the instability element of the SUP means that I’ve had to learn how to work poses I practice regularly in a different way, in order to maintain balance. Holding yoga poses on the board demands a lot of core strength, and has found me working new muscles in order to keep my balance. It’s also been a great revealer of muscle imbalances I hadn’t noticed before. I realized that in downward dog I was pressing more weight through one side of my body than the other. Whilst it’s easy to ignore this on the mat, on the water press more weight through one hand than the other and the board will definitely let you know! This all means that practicing SUP yoga is a really effective way to strengthen your body in a more balanced way which in turn translates to an improved SUPing/surfing/windsurfing etc. performance too!

Because even the smallest of movements can throw my balance off, I’ve noticed that I bring a different quality of attention to my practice on the water. I need to be completely fully in the present moment if I want to stay on the board! But by the same token, falling off is pretty much inevitable and also part of the fun! It’s helped me to let go of my expectations and the need for perfectionism, and just go with the flow – a good metaphor that can be carried over to life too I guess! Ironically, I find that when I fight the movement of the board that is when I fall, whereas if I move with its natural rhythms the poses become naturally more stable, and more enjoyable too!

Finally, I love the fact that SUP yoga allows me to combine my love of being outdoors in nature with yoga. There really is nothing more relaxing than lying in savasana with the board gently rocking underneath you – on a warm sunny day it really is bliss!

So, whether you’re a paddle boarder looking to work on your flexibility and core strength, a yogi who fancies taking your practice to water, or are just looking for a different yoga experience outside of a yoga studio, SUP yoga has something for you!

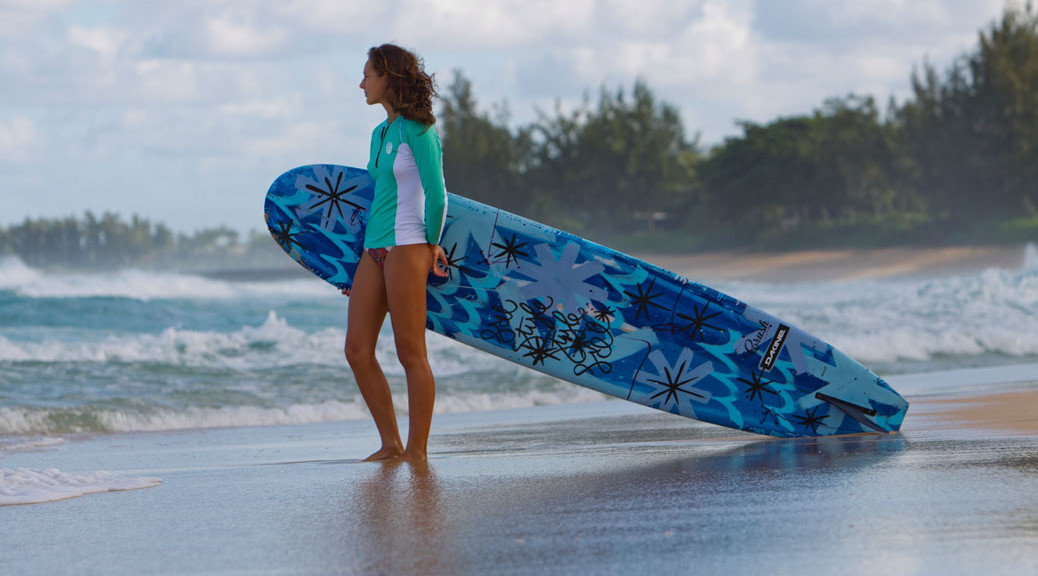
Tallington Lakes Pro Shop stock Red Paddle Co inflatable SUPs.


Facebooktwitterredditpinterestlinkedinmailby feather

What’s a Rashie aka Rash Guard or Rash Vest

New to the scene or been in the water sport game for years its more than likely you’ve heard the term rashie aka rash guard or rash vest! No matter the term this is a vital piece of kit worth adding to your water sports gear.

Rash vests are normally worn under your wetsuit to help prevent chaffing. O’Neill rash vests have been specially designed to achieve this through the use of numerous materials and flat loc stitch construction which helps provide a softer, lower profile seam erasing any possibility of rashes occurring.

Ever worried about your sun cream washing off? Wearing a rash vest will give you that peace of mind and protection against harmful UV rays that you know won’t wash off! Don’t risk it! Most O’Neill rash vests have a 50+ UV rating or above perfect for those extremely sunny days out on the water. Even if it’s too warm for a wetsuit O’Neill rash vests are so versatile they can be worn either on their own or under other clothing, but still give amazing protection.

When it comes to water sports you don’t want to be worried about your top rising up during a high impact crash so O’Neill have added a feature known as the board short connector allowing any board short to be securely attached to your rash vest preventing any unwanted embarrassment.

male surfer wearing oneill rash guard
O’Neill Team surfer wearing a rashie, rash vest or rash guard!

Materials

Rash vests, what makes them so comfortable? The materials are generally a combination of specially selected lightweight materials such as nylon, spandex and polyester producing what’s known as lycra to you and I. This lycra material is around 0.5mm thick and comes in a variety of stretch; 2 way, 4 way and 6 way stretch giving you different levels to suit any environment. (Link to board short blog)

Fit

With any clothes or shoes the correct fit is important, rash vests are no different! Being a super stretchy material allows the rash vest to perfectly mould to your body shape ensuring all areas are protected.

However, with more people wearing them as UV protection a loose t-shirt style rash vest is available.

Typically a rash vest is worn as a tight fitting garment but even if you don’t like tight, body hugging clothing as long as you’re comfortable with your rash vest it will still give you that protection required. Including the figure hugging compression rash guard for long distance endurance sports.

Thermal Rash Vest

Nobody wants to cut their session short due to getting cold. A thermal rash vest does exactly what it says on the tin; provides a thermal layer for added warmth yet still gives protection against UV rays. O’Neill thermal rash vests come in a variety of styles from hooded to sleeveless vests so you’re covered for all conditions.


Facebooktwitterredditpinterestlinkedinmailby feather

Get Ready For Open Water Swimming

With the new open water/triathlon season about to start, what can you do to make sure you are ready for your first dip?

Practice some key open water skills in the pool Sighting, head up swimming, breathing to both sides and deep water starts can all be done during your winter training period. Over the next few weeks, whilst the water still warms up, get down to your local pool and refresh your skills.

Wetsuit

Check it still fits and if not consider treating yourself to a new one. Unless you are a really competent swimmer and can remain in a streamlined position using your core and a sustained leg kick you won’t normally need the top end suits. Entry and mid level suits are designed to give a bit more buoyancy to the swimmer. Fit rather than price is more important.

Swim Endurance

If you have neglected your swim practice since last summer the best place to regain your water fitness is probably the local pool. Its safer and warmer and you can build up over a number of weeks and still have enough time to enjoy the open water during the warmer part of the year. If you do head straight for the open water make sure you do it safely and never alone. Just swimming slowly around a course will not help you progress, try and vary the pace you swim and introduce
some specific skill practice. If you need some help why not consider a coached session and get some constructive feedback.

Easy does it

The early part of the season is still, quite literally, a cold shock for open water swimmers especially those venturing into this arena for the first time. Limit the amount of time you spend in the water
and get out once you start to feel cold. Your temperature will continue to drop when you get out so be prepared with warm layers, even on sunny days. Above all build up gradually and enjoy your
experience.

Consistency is the Key

Like all things in life, if you want to get good at something you need to practice regularly. Consistent, progressive practice is the one thing that will make you a better and more confident swimmer in the open water. Try and set some goals, even a relatively simple goal like “I want to be able to swim 750m front crawl non stop’. A more challenging goal like “Complete my first open water triathlon” or “Swim across lake Windermere” or even “Qualify for Kona Ironman” will give you every excuse to get out and swim.

Facebooktwitterredditpinterestlinkedinmailby feather

How To Film Skiing With A GoPro?

The innovations in point of view (POV) cameras in the last five years have changed the way we are able to capture our favourite action sports. However it seems sometimes that the footage people get from there action camera doesn’t quite live up to there expectations. I thought I would write a short blog on how to film skiing with a GoPro and get the professional looking results you are hoping for.

The first step in making a great edit is having a clear idea of the shots and footage you want before even leaving the house. The gift and the curse of POV cameras is that they are capable of shooting anywhere and anything, this means we can end up with hours of footage on the memory card much which will never be used or even replayed. Having a concise vision of what you want to film can save hours of trawling through your memory card waiting for a useable shot. Angles to shoot from are endless with a GoPro but where they excel is from a close intimate angle as the fish eye lens captures images at such a wide angle. With this in mind the key to getting consistently good results is making sure the camera is close to the point of action you are trying to capture. This can be achieved by the huge variety of GoPro mounts which are available and allow you to self film but is more critical if you filming somebody else.

So once you have a clear idea in your head you can go out and get the shots you want this is where a basic understanding of the camera settings comes into play. The latest GoPros are able to shoot at 120 fps (frames per second) in 1080HD or 60 fps in 4K however there are a variety of different shooting modes beneath these. So what setting should you use when, basically the highest quality shot will require shooting in 1080HD or 4K on the newest models. This setting will mean the cameras is taking in the most information it can,providing the highest image quality when replayed. However shooting in this mode means you will compromise the fps rate. This is where having an idea of what you want to achieve is important. The higher the frame rate the better the quality if you want to slow the shot down, so to achieve that super slow motion effect used so often in GoPro videos you need to be shooting in the highest frame rate – ideally anything above 60 fps will you good results when slowed down.

In regards to getting the best results in slow motion there are a couple of things to consider when actually filming. Firstly try and keep ‘camera shake‘ to a minimum; there are a vast selection of accessories to help with this from pole mounts to tripods. I recommend making the small investment as it will really improve the quality of your images. Secondly reducing the ‘background’ noise in the frame means it is easier for editing software to link the frames when slowed down. So try to film the action with a blank background for example if someone is doing a jump try to make the backdrop the sky this will result in smoother images when slowed down.

A final thought in regards to getting the most from your GoPro is choosing the days you film and how you film. If you look at any of the professional GoPro clips online you will see a common theme they are all shot on the brightest days. The images on these days will always have better contrast and will really come alive on your screen. However skiing isn’t always blue skies and sunshine if you do end up wanting to capture that epic white out powder day you will need to do some after editing. To achieve that same definition in your images you will need to increase both contrast and saturation whilst reducing exposure. The free GoPro Studio is a great bit of software to start learning the basics of editing and improve your film making skills. It also has fantastic compressor which will reduce the final file size of your edits, due to the quality of GoPro footage quite often files can be large so this a great feature especially if you like sharing you edits on social media.

Hope this has been useful and you enjoy going out and capturing your next big adventure!

Facebooktwitterredditpinterestlinkedinmailby feather

Wetsuits – What Type Do I Need

If you are involved with water sports it generally means you will need a wetsuit at some point. This however is seen as a daunting prospect with the wide variety of wetsuit types available. Whether you fancy a dip during the brisk winter months or the height of summer, this guide will give you all the information needed to match your needs to that perfect wetsuit.

Wetsuits provide a perfect blend of thermal insulation, abrasion resistance and buoyancy through the use of numerous high tech materials developed by companies such as O’Neill. One such material to hit the market by storm was O’Neill’s Techno Butter technology which is now 20% lighter and 30% less absorbent than traditional wetsuits.

But many ask the question how do wetsuits really work? In water your body looses heat up to 25 times faster than in air so getting the right insulation is important.  It’s the air trapped inside the neoprene itself which creates an insulator against the cold, and  the more air you can pack in the warmer the suit will be.

To ensure ‘the warmth’ is not flushed out by any cold water, its crucial the wetsuit fits correctly, so please follow our size guide or give us a call and speak to an experienced member of staff. Or pop in!

Full Wetsuit

A full wetsuit sometimes known as a ‘steamer’ suit covers your whole body and provides a high level of protection. It is available as a summer or winter suit with varying thicknesses from 3/2mm for highly active sports all the way to 7mm which incorporates a hood suitable for cold water scuba diving.

oneil hyperforeak wetsiut
O’Neill Hyperfreak is a full wetsuit with 3mm and 2mm neoprene.

Short Arm Steamer

Do you find your paddling is affected with full wetsuits? Short arm steamers have been designed to still provide warmth and protection for your torso and legs but helps increase flexibility with thinner neoprene and strategic paddle zones when kayaking and SUPing.

Spring/Shorty Wetsuit

A spring/shorty wetsuit either has full length arms and short legs or short arms and short legs. This design gives much more flexibility and movement generally used when body boarding or surfing when torso protection is important but it’s too warm for a full suit.

oneill reactor short wetsuit
O’Neill Reactor is a women’s shorty wetsuit made from 2mm reprehend.

 Short John Wetsuit

This bib style suit features no sleeves and short legs which gives your core warmth with the increased upper body flexibility key for highly active upper body sports during warmer summer months such as rowing and SUPing.

Long John Wetsuit

This again is a bib style suit with no sleeves but gives added warmth and protection through full length legs. This is perfect for the warmer months and highly active upper body sports such as competitive sailing, where bumps and abrasion from the boat hull and trapeze harness is a regular occurrence.

Wetsuit Top/Vest

Generally made from a thinner neoprene so not to reduce flexibility, a wetsuit top/vest is perfect for extra protection and thermal insulation to be worn over swimwear when a normal rash guard is not enough. A wetsuit top/vest ranges from 0.5-1.5mm thick.

Wetsuit Shorts

Made from a thinner neoprene wetsuit shorts are perfect for those situations when you want little warmth but added protection for your upper legs, great when combined with a rash vest and buoyancy aid.

Dry Suits

Designed to be fully waterproof dry suits are used in extreme cold water during dives and water rescues offering the highest level of protection. Dry suits are a one piece design with water tight gaskets around the neck, wrists and ankles. These suits generally fall into 2 categories:

Neoprene Dry Suit – Similar to semi dry suits but with higher grade more robust water tight seals, with base layers worn for added warmth on longer dives.

Membrane Dry Suit – Constructed with layered waterproof materials i.e. nylon or rubber and unlike a neoprene dry suit does not provide any insulation or floatation so thick base layers must be worn.

Now you know what you are looking for why not visit our shop!

Facebooktwitterredditpinterestlinkedinmailby feather