
Cutting ski touring skins can be on of the biggest nightmares when getting a touring set up dialed; especially if you have a little OCD like myself and want a perfectly symmetrical skin cut.
After cutting my first skins, a set of Marker Universal, and a buddy’s Black Diamond Ascension; I can say with out a doubt G3 make it far easier and less stressful! The skins themselves are not only one of the best on the market but the attention they have put into the cutting process sets them in a league if their own!
So you may have seen or know how to trim skins by cutting one side, then move the skin over – guessing the amount of edge to reveal – then cut again. I don’t know about you but I feel this a rather inaccurate method!
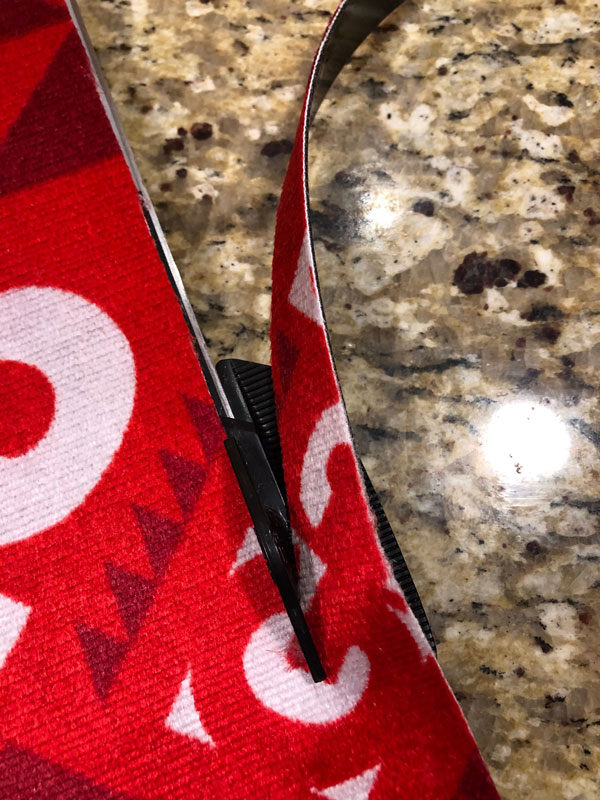
What G3 have created is a trimming tool that lifts the skin off the base, spaces the cutting blade just the right depth in from the edge, and trims the skin all in one pass. So with this process there is no need to move the skin and try match up the edges; simply attach the skin centred on the ski and cut both edges – brilliant!
So once trimmed it was ‘in-at-the-deep-end’ with a skin up to the Birthday Chute – a 1.2 km, 30-45 degree couloir in the Colorado Rockies. The skins preformed faultlessly with excellent grip in the steep kick turns and a super easy transition in gusting winds on the summit. The light weight cheat sheet and stuff sack kept the skins in great condition, to re-attach for the skin out. On previous trips I’ve had issues with glues not sticking and icing over; but not this time! So if your in the market for some new skins this winter season stop by the Pro Shop and check out G3 skins – you won’t be left disappointed.