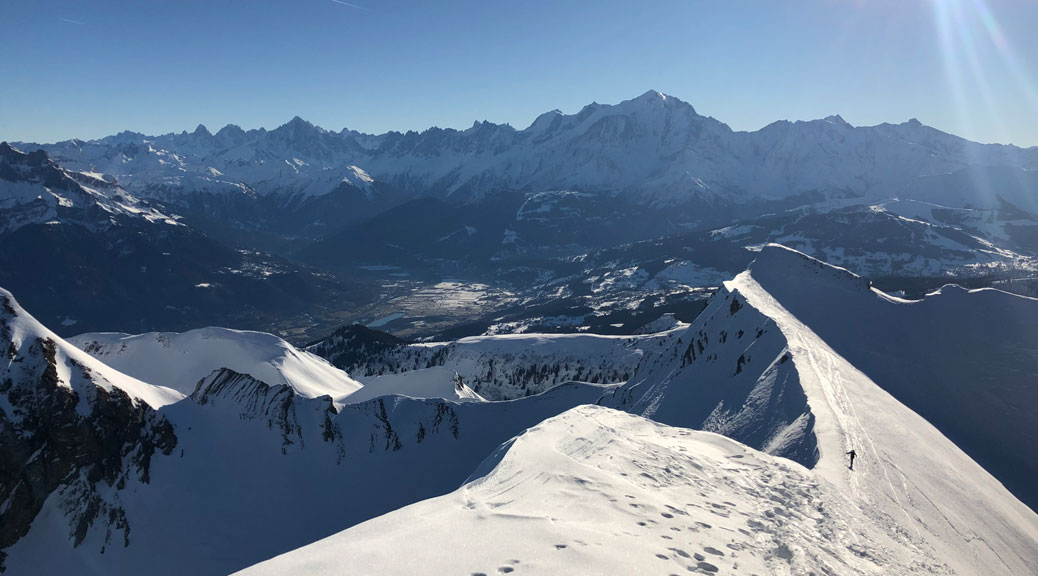
Ski touring can mean different things to different people – depending on the desires of those participating. According to Google dictionary, the defining features include ‘skiing across open country, walking uphill on skis as well as skiing downhill’. With this in mind; there are multiple options of how you can spend your day ski touring – depending on your own priorities. Many people use ski touring as a means of fitness. Some are captivated by the ability ski touring gives you to escape the crowded slopes and travel into the wilderness. Meanwhile, others use ski touring as an effective method of transport on the snow, ultimately to get to a destination. This destination could be anything from a mountain hut, to a line you have been dreaming about skiing for years, or even the finish line of a race. Therefore, to answer your questions of what gear is best; first you will need to prioritise your own ski touring desires.
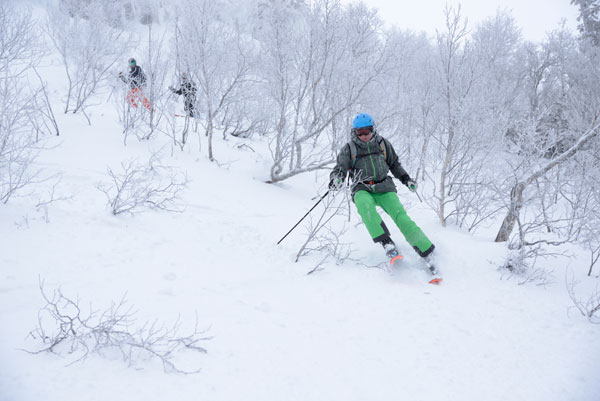
There are two extremes within the ski touring world. At one end of the spectrum you have the lightest skis and minimal pin bindings, combined with extremely lightweight, soft boots. And at the other end there is the freeride setup, which uses heavier and fatter powder skis, with a more performance binding and stiffer boots. The lightweight setup is perfect for those hungry to push their limits on the ascent; by beating time records, increasing their distances, or simply for anyone wanting to make walking uphill on snow as effortless as possible. This is a good option for endurance ski tours, such as multi-day or hut-to-hut trips where you need to save your energy. Plus, for ski tour racing the lighter the gear the better. On the contrary, the heavier setup is designed for those really prioritising the decent and wanting to charge down a line with the best equipment for exactly that. This freeride setup tends to be used for shorter ski tours due to its weight, but what it does best is allow you to ‘earn your turns’ in most snow conditions, especially fresh powder. Also this setup is perfect for side country access skiing, where you may need a short walk to get to a line or even just to skin out from the bottom.
When choosing what gear to buy, there will always be compromises to make, but with technology constantly improving, those compromises seem to keep getting smaller and smaller.
However great each of these setups are for their purpose, choosing between them will subsequently mean compromising the ascent or decent. For example, super lightweight skis with pin bindings are not going to give you as much control or float in powder as a fatter, stiffer setup. On the other hand, climbing up with heavy gear will naturally slow you down and use up more energy. This limits the distance you can travel in a certain amount of time, and time is a critical factor when travelling in the mountains. Therefore, if you are looking to enjoy all aspects of ski touring, you may want something a bit more ‘middle ground’.
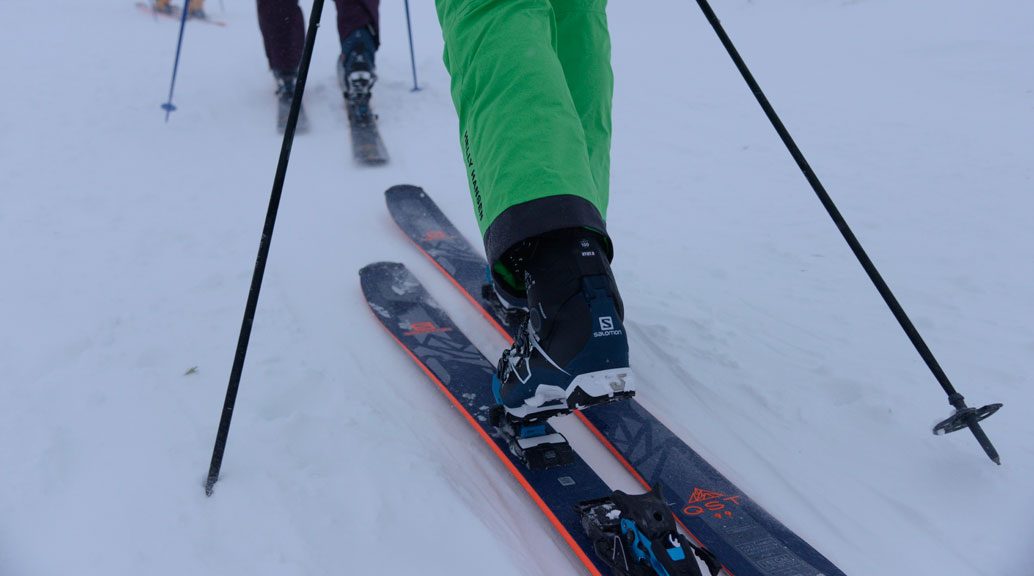
When choosing what gear to buy, there will always be compromises to make, but with technology constantly improving, those compromises seem to keep getting smaller and smaller. In fact Atomic (and Salomon) have released a brand-new binding, which is the ‘first compromise-free binding’. Whereas before you had to make a big decision of pin or freeride touring bindings, now the Atomic Shift binding perfectly combines the two systems. The many benefits include being lighter under foot for each step you climb, being securely locked in for charging the decent and importantly being able to release if you crash. Plus having brakes make transitions slightly less worrying when taking your skis off; unlike many pin setups which do not have such luxuries. These bindings are compatible with all Multi Norm Certified soles on the market today: Gripwalk ISO 9523, WTR ISO 9523 and Touring Norm ISO 9523 ski boots when in ski mode, as well as most ‘pin binding’ touring boots. The only sole not compatible with the Shift binding is the Non Touring Norm sole. Fundamentally, this makes tehn the ultimate all-round ski touring binding currently on the market.
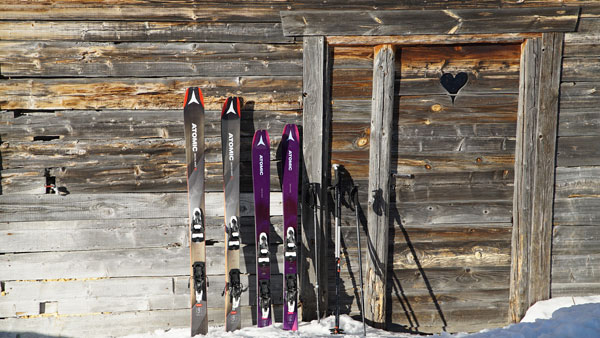
The Atomic Backland skis are a great example of a versatile, lightweight ski, which can handle a range of conditions and terrain.
Touring skis are also closing the gap between what’s good going up and what’s good skiing down. The Atomic Backland skis are a great example of a versatile, lightweight ski, which can handle a range of conditions and terrain. Their ultra-light wood core and carbon backbone make climbing a doddle, while their HRZN tech tips, cap sidewall and all-mountain rocker increase float and give great edge control for ripping through the powder, crud or on piste. Furthermore, Atomic have an extensive range of their Backland skis, which include women specific models, and range from 65 to 107 under foot to cater for everyone’s needs. For the ultimate balance of up-and-down the women’s Backland 85 and the men’s Backland 95 are perfect. Combine these skis with the Atomic Shift binding and you will be well on your way to the perfect all-mountain touring setup.
To top it off, ski touring boots keep getting lighter, stronger and stiffer for you to really make the most of your time on the snow. If you are looking for a boot that can really do it all, look no further than the trusty Atomics, to complete your own ultimate touring setup. For both men and women the Atomic Hawx Ultra XTD is the perfect balance between a freeride boot and a touring boot. With the pin system and lightweight shell ready for cruisey ascents, and a stiff flex for shredding at speed, you can enjoy one pair of boots for all your mountain adventures.

And its not just me that thinks that; here’s what On The Snow have to say about the Atomic Hawx Ultra XTD ski boots!
So, hopefully you will have a broader understanding of the different meanings of ski touring, and have a better idea of what will ‘tickle-your-fancy’ in the mountains. If you are at each end of the spectrum and want to push yourself in either the ascent or the decent, then size and weight are both critical factors when buying gear. If you see yourself as an all-mountain ski tourer, you will seek the perfect balance with the least compromises. The aforementioned Atomic setup (Backland skis, Shift bindings and Hawx Ultra XTD boots) will provide you with comfort, control and enjoyment in all aspects of ski touring.
Also this set-up is perfect for those new to ski touring, because it’s very user friendly and great value for money. So, if you are looking for one pair of boots and one pair of skis with bindings that you can truly take anywhere and have a good time, this is for you!
Finally, when ski touring in the backcountry, choosing your gear is only the beginning of all the important decisions to be made. Take no unnecessary risks and be snow avalanche aware; but most importantly have fun and enjoy the freedom!