How To Be Safe Near Water.

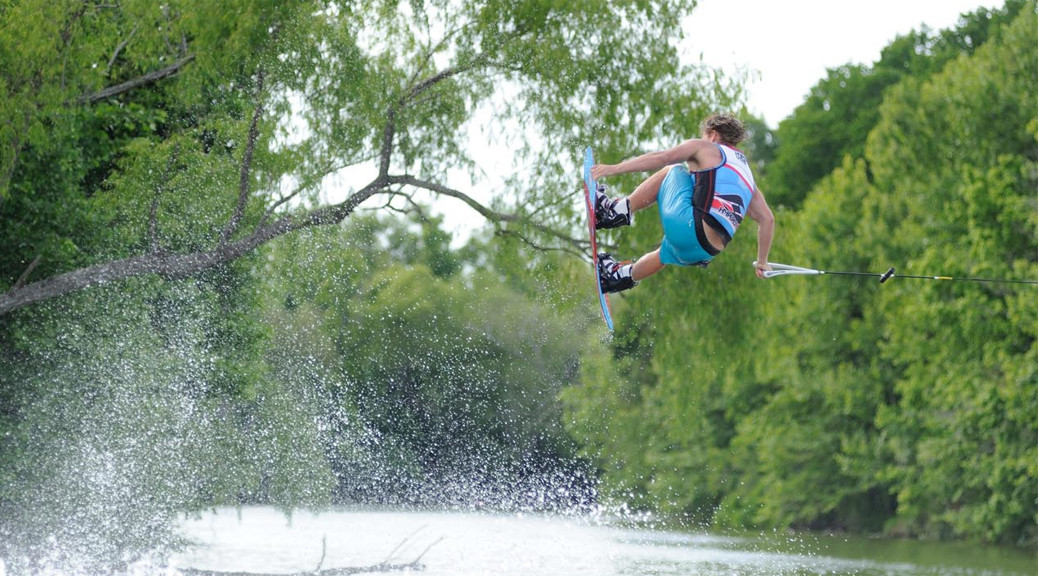
It’s summer time! A time for sunbathing, sport and splashing about in the water. But a campaign by the Royal Life Saving Society UK (RLSS UK) is serving to remind people that families need to keep safe near the water to ensure fun doesn’t turn to tragedy,
Drowning Prevention Week is a national campaign that aims to reduce the number of drowning and near drowning incidences that occur in the UK by showing people how to be safe near water.

Drowning is the 3rd highest cause of accidental death in children in the UK. Around 400 people accidentally drown in the UK every year with thousands more have near drowning experiences , many resulting in life changing injuries.

The awareness raising campaign (this year running from 21-29 June) is predominantly aimed at children, and throughout the week water safety is promoted in schools, leisure centres, local communities, businesses and widely through the media.

A host of free resources that help to deliver water safety messages are available on their website www.drowningpreventionweek.org.uk, such as an animated film, interactive dames, children’s activities, leaflets, lesson plans and pool session ideas.

drowning prevention week 21-29 june 2014

The campaign also hopes to raise money to help develop the charity’s year round drowning prevention work.


RLSS UK believe that if everyone knew and understood the SAFE code and made small changes to their behaviour near water, we could cut down the number of preventable, accidental drowning deaths.

How To Be Safe Near Water SAFE Code:

Spot – Spot the dangers
• Check for hazards such as currents or deep water
• Consider what could be hidden under the water
• Be careful of unsafe banks, stay well back from the edge

Advice – Take advice
• Always read the signs
• Only swim where there is a lifeguard
• Wear buoyancy aids and life jackets
Friend – Go with a friend
• Always swim with friends or family
• Friends can get help
• Never swim alone

Emergency – Know what to do in an emergency
• Find the nearest phone and call 999
• Shout loudly to attract attention
• Never enter the water to save someone

For more information, contact dpw@rlss.org.uk.

royal life saving society uk

Facebooktwitterredditpinterestlinkedinmailby feather

What Shape Wakeboard Rocker Do I Need; Continuous or 3 Stage Rocker?

Since wakeboarding was conceived around 20 years ago there have been mainly two shapes of wakeboard available on the market; a continuous rocker and a 3-stage rocker. So firstly what are they?

Well in order to see these different wakeboard profiles you must look down the edge of the board.

Continuous Rocker

A continuous rocker is like it says on the tin; a continuous arc from tip to tail which gives a predictable fast release off the wake, allowing riders to carry plenty of distance over the wake. We are not suggesting these boards are for beginners but they will certainly help you carry your speed and distance over the wake. A super progressive shape to allow riders to improve their skills.

Liquid Force Super Trip wakeboard with a continuous rocker.

3 Stage Rocker

So onto the so called 3-stage rocker; these do literally come in many different shapes and sizes as each brand has their own play on this shape: from late rocker to 5-stage they are just a variation. The traditional 3-stage shape gives the rider increased pop and power off the wake. No matter how small or big the boat you are towed behind; this will give you maximum height for the biggest tricks. Just be warned however these boards have been known to be a little slower over the water.

Ronix One Modello a with 3-stage/late rocker.

Both of these have obviously been doing just fine and many wakeboarders are quite happy with them, however, companies keep on developing and pushing the sport even further with the latest technology. Ronix have some new boards the Bandwagon and Parks which are cambered. This offers a balanced feeling of snap through both legs off the wake, without sacrificing any speed. Liquid Force have the progressive 5 stage rocker which helps to minimise speed loss on the water by having two rocker zones either end of the wakeboard.

For those who rider cable parks the continuous rocker will give more speed, and the 3-stage rocker more pop!

Facebooktwitterredditpinterestlinkedinmailby feather

Water Ski Fin Settings

The fin on a water ski can be moved to a wide range of positions to make the ski react differently when water skiing. Here is a guide to what effect moving the fin will have, but as always we recommend getting expert advice – like speaking to #Brown.

Water Ski Fin Adjustment

If you move the fin backwards it can make the water ski feel longer, and moving it forward will make the ski will feel shorter. The fin can also be adjusted to be deeper or shallower in the water, which will effect the amount of tail slide you want the ski to have in the turn. Adjusting the leading or trailing edge of the fin can also improve how the ski turns on the 1,3,5 side or the 2,4,6 side of the slalom course.

radar vapour water ski fin settings
Example of fin settings for the Radar Vapour water ski.

A water ski fin can also come with a foil or wing. This is used to help you slow the ski down ready for the ski to turn. The foil does not become effective until the water ski is travelling at speeds of 34/36mph; so any adjustments are only useful for expert skiers.

For the beginner water skier, both slalom course and free ride skier, we would recommend leaving the fin at the factory settings; and learning the correct technique, including how to slow the water ski down , before making any adjustments.


Facebooktwitterredditpinterestlinkedinmailby feather

What Size Water Ski Do I Need?

This guide will help you decide what size water ski you will need to get the best from your water skiing!

The size of water ski will depend upon your weight, height and ability. For example if a water skier was on a ski that was too small and skiing at a slow speed; the ski would not support them and they would start to sink. Likewise if the ski is too large the ski will sit high on the water and it will take too long to turn.

The width of the water ski can make a big difference too; as a general rule (but not in all cases) a wider water ski is suited to helping people learn and develop their water skiing because it helps them get up on top of the water.

Water Ski Sizing

The table below should be used a guideline in purchasing your water ski, but with most things it is not an exact science. If you need any assistance please call 01778 381154 and ask for #Brown.

26-30 mph 30-34 mph 34-36 mph
80-110 lbs 63-64″ 62-64″
95-120 lbs 65-66″ 63-64″ 63-64″
115-140 lbs 65-66″ 63-64″ 63-64″
135-160 lbs 67-68″ 65-66″ 65-66″
155-180 lbs 69″ 67-68″ 67-68″
175-200 lbs 69″ 69″ 67-68″
195-220 lbs 72″ 69″ 69″
215 lbs and up 72″ 72″ 72″
Facebooktwitterredditpinterestlinkedinmailby feather

Rear Toe Plate or Rear Boot Water Ski Binding?

To use an RTP or not to use an RTP: that is the question:

We often get asked, by water skiers, whether a Rear Toe Plate (RTP) or a rear boot water ski binding is better for water skiing. Unfortunately there isn’t a definitive answer; its all down to personal preference. I preferred a rear boot!

Rear Toe Plate (RTP)

Most  water skiers like the RTP because when deep water starting the rear foot can be trailed behind the water ski like a ruder for balance. Skiers also like the freedom to adjust their rear foot during skiing, if needed, depending on what they were doing.

ho water ski with rtp
HO water ski fitted with front boot and RTP bindings

Rear Water Ski Boot

The rear boot will make you feel more secure because the foot is held in place; keeping the heal on the ski. This will prevent the rear foot lifting or sliding as you cross the wake at speed, which can be a little unnerving! The deep water start may need a bit of concentration to start with,  but after a while it will become second nature!

ho water ski with rear boot
HO water ski fitted with front and rear boot bindings.

So are you a RTP skier or a rear boot skier? There is not test for this apart from just trying both; and finding out which you feel most comfortable/confident with and which best suits your style of water skiing!

Facebooktwitterredditpinterestlinkedinmailby feather

How to Inflate Towable Inflatables

With the warm weather encouraging us onto the water; here are some words of wisdom about inflating your towable inflatables!

Whether your inflatable tube is new or been in storage it is recommended that you only part inflate your towable inflatable to three-quarters of the recommended pressure to allow the creases in the PVC inner air bladder to expand and even out. This will prevent the creases from bursting/splitting; and spoiling your fun! Not following this procedure may also invalidate your manufactures warranty because seams are only covered.

creased towable inflatable.
Creased towable inflatable.

An hour in the sun should be sufficient for the PVC to uncrease; after which you can fully inflate your tube to the recommend pressure and get out on the water.

Always use an appropriate tow line for the size of tube: single, double or multi-rider; and be safe on the water.

Facebooktwitterredditpinterestlinkedinmailby feather